
Key Points Before Making Soap
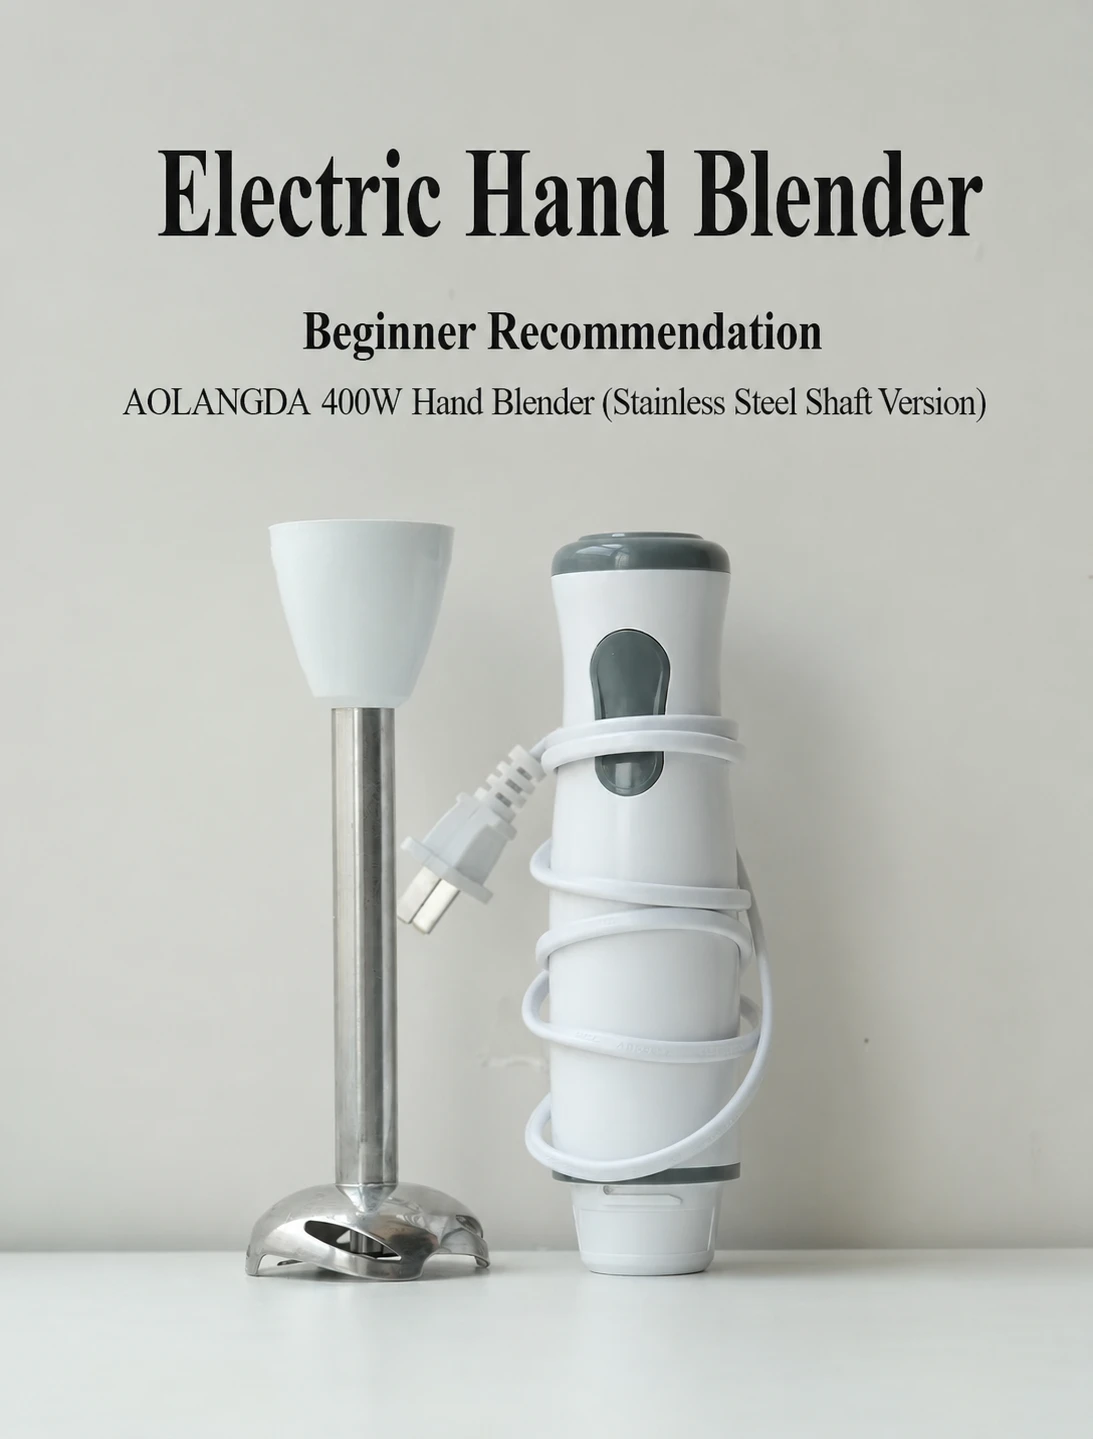
- →Emulsion: Match oil and lye temperatures, blend steadily to avoid separation.
- →Ingredient Precision: Weigh fats and lye accurately; use a lye calculator for safety.
- →Safety Gear: Wear goggles, gloves, and work in a ventilated space free of distractions.
- →Method Choice: Select cold, hot, or melt-and-pour based on time, design, and skill.
- →Curing and Troubleshooting: Allow full cure, monitor humidity, and rebatch seized batter if needed.
Soap-Making Fundamentals
Before Making Soap, you are basically setting the stage so your batch does not go sideways. Think clean tools, sane notes, and a plan for heat and time. Before Making Soap also means knowing what lye can do, how fat behaves, and why a steady process beats frantic stirring. Soap Craft Lab keeps it simple, but never sloppy.
Mastering the Saponification Process
Before Making Soap, lock in the core idea: saponification is a chemical reaction where lye (an alkaline solution) meets fat and turns into soap plus glycerin, and it will do that on its own schedule unless you guide it. The trick in soap making is keeping the process calm, not aggressively busy.
- Temperature: Warm oils can speed the chemical reaction; too warm can thicken fast and trap air. Cooler temps can slow saponification, which buys time for swirls but can flirt with false trace.
- Trace: Light trace gives fluid batter and easy pours. Medium trace gives thicker body and better suspension for add-ins.
- Mixing: Stick blend in short pulses, then hand-stir; constant blending can push you past the texture you wanted.
- Label your lye container, set a timer, and write oil weights down — future-you will thank you.
- If the batter starts pudding up, stop blasting it and let the process catch up.
Soap Craft Lab teaches one vibe: steady hands beat heroic stirring.
Chemistry and Curing: Why Lye Meets Fat Perfectly
Before Making Soap, it helps to know why one recipe feels creamy and another feels squeaky. It is not magic; it is chemistry — your fat blend decides the fatty-acid mix, and SAP values tell you how much lye is needed to hit a safe pH range after cure.
- If you want hardness and longevity, push more saturated fats; if you want glide, keep some oleic-rich oils.
- Curing is not optional waiting. Water leaves, crystals tighten, and leftover alkalinity settles, which changes feel on skin and how long the bar lasts.
- If you cut early, bars can warp; if you wait, you get cleaner edges and less drag in use.
Here is a simple numbers view to keep your recipe expectations realistic (example ranges, not a calculator):
| Oil/Fat (example) | Typical SAP (NaOH) | % Saturated (approx) | Cure Feel (typical) |
|---|---|---|---|
| Olive oil | 0.134 | 14% | Mild, slower to harden |
| Coconut oil | 0.183 | 87% | Hard, big cleanse, can feel strip-y |
| Shea butter | 0.128 | 60% | Creamy, boosts hardness |
Before Making Soap, set your cure plan too: 4 to 6 weeks is common, but humid rooms can stretch that. Before Making Soap prep means picking a dry shelf, airflow, and a date you will actually stick to.
Emulsification Tips to Avoid Separation
Before Making Soap, get friendly with emulsification, because a stable blend is the whole ball game. When oils and lye will not stay married, you get separation — aka the soap version of nothing properly linked to carry fragrance, color, or texture forward.
- Temperature matching: Keep temperature of oils and lye solution in the same neighborhood; big gaps can fake you out with thickening.
- Smart blending: Use a stick blender in bursts, then pause; the batter needs time to actually form a stable emulsion.
- Trace reality check: Trace should hold a faint line on the surface, not just look thick from cooling oils. Watch for false trace: waxy fats solidify and mimic success, then split later.
- Warm the pot slightly to re-liquefy stubborn fats.
- Hand-stir to rejoin, then short-burst blend to re-build stabilization.
- Keep additives back until the emulsion holds — otherwise you are decorating a failure.
Before Making Soap, you are not just gathering gear; you are preventing drama. Soap Craft Lab rule is blunt: if the emulsion is not real, nothing else you do will stick.
Ingredient Selection and Measurement
Before Making Soap, you are basically setting up the whole batch for success or a weird, crumbly mess. Lock in repeatable ingredients and clean measurements. Think Before Making Soap as your prep mindset: choose steady inputs, note every gram, and keep water and scent from throwing surprises.
Choosing the Right Oils and Fats
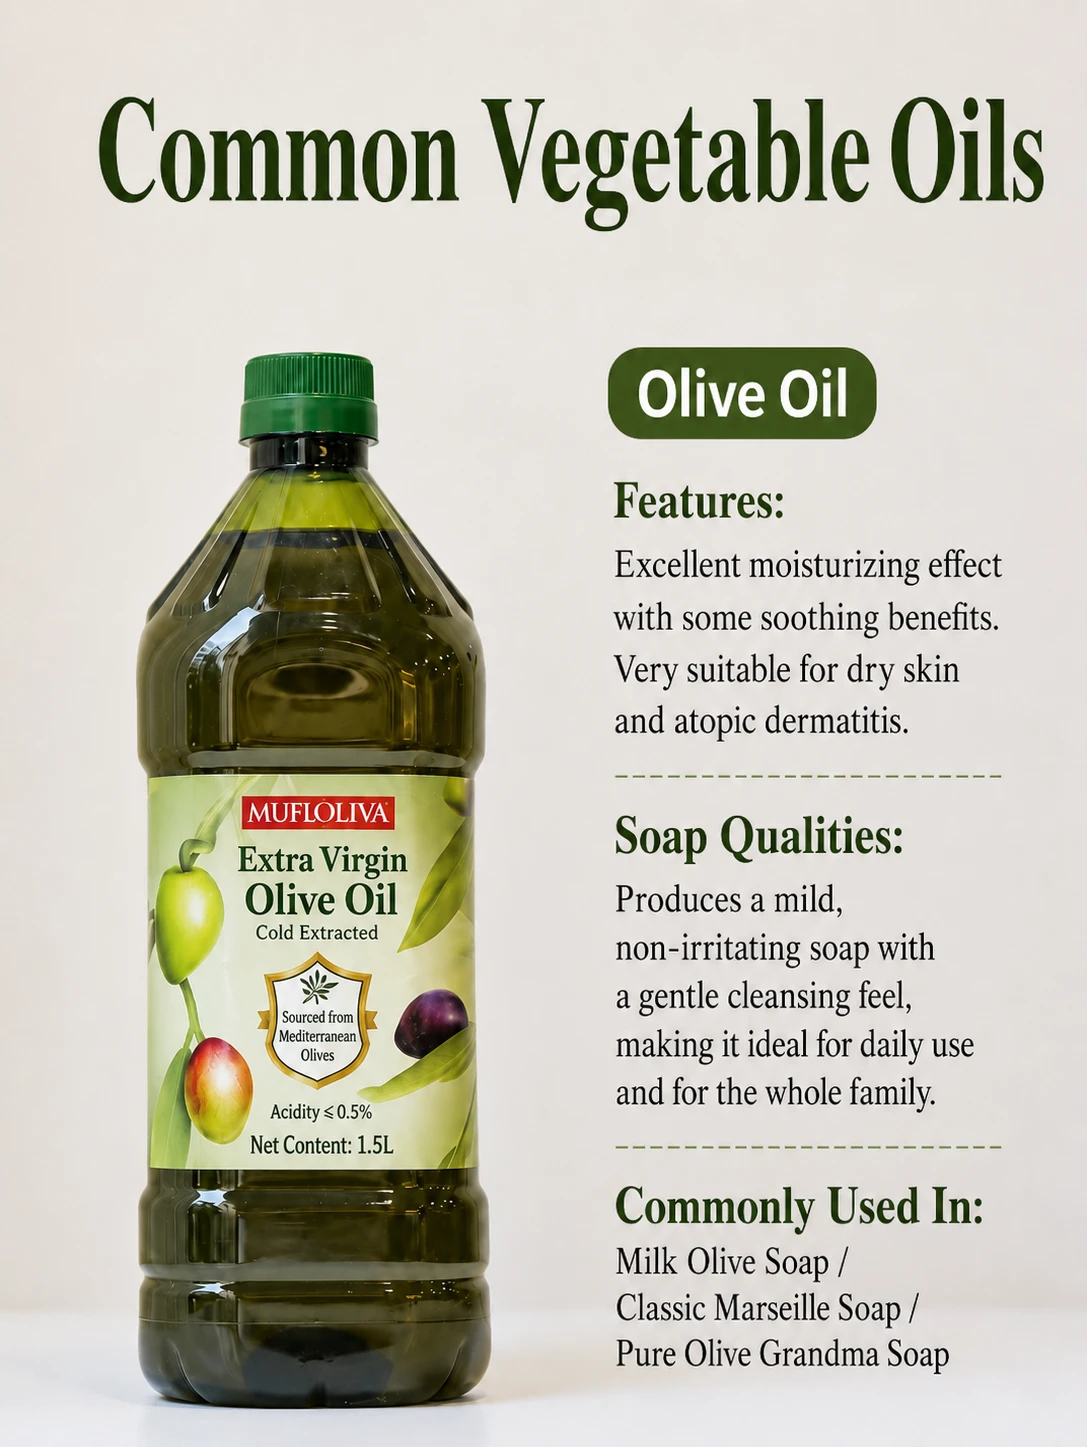
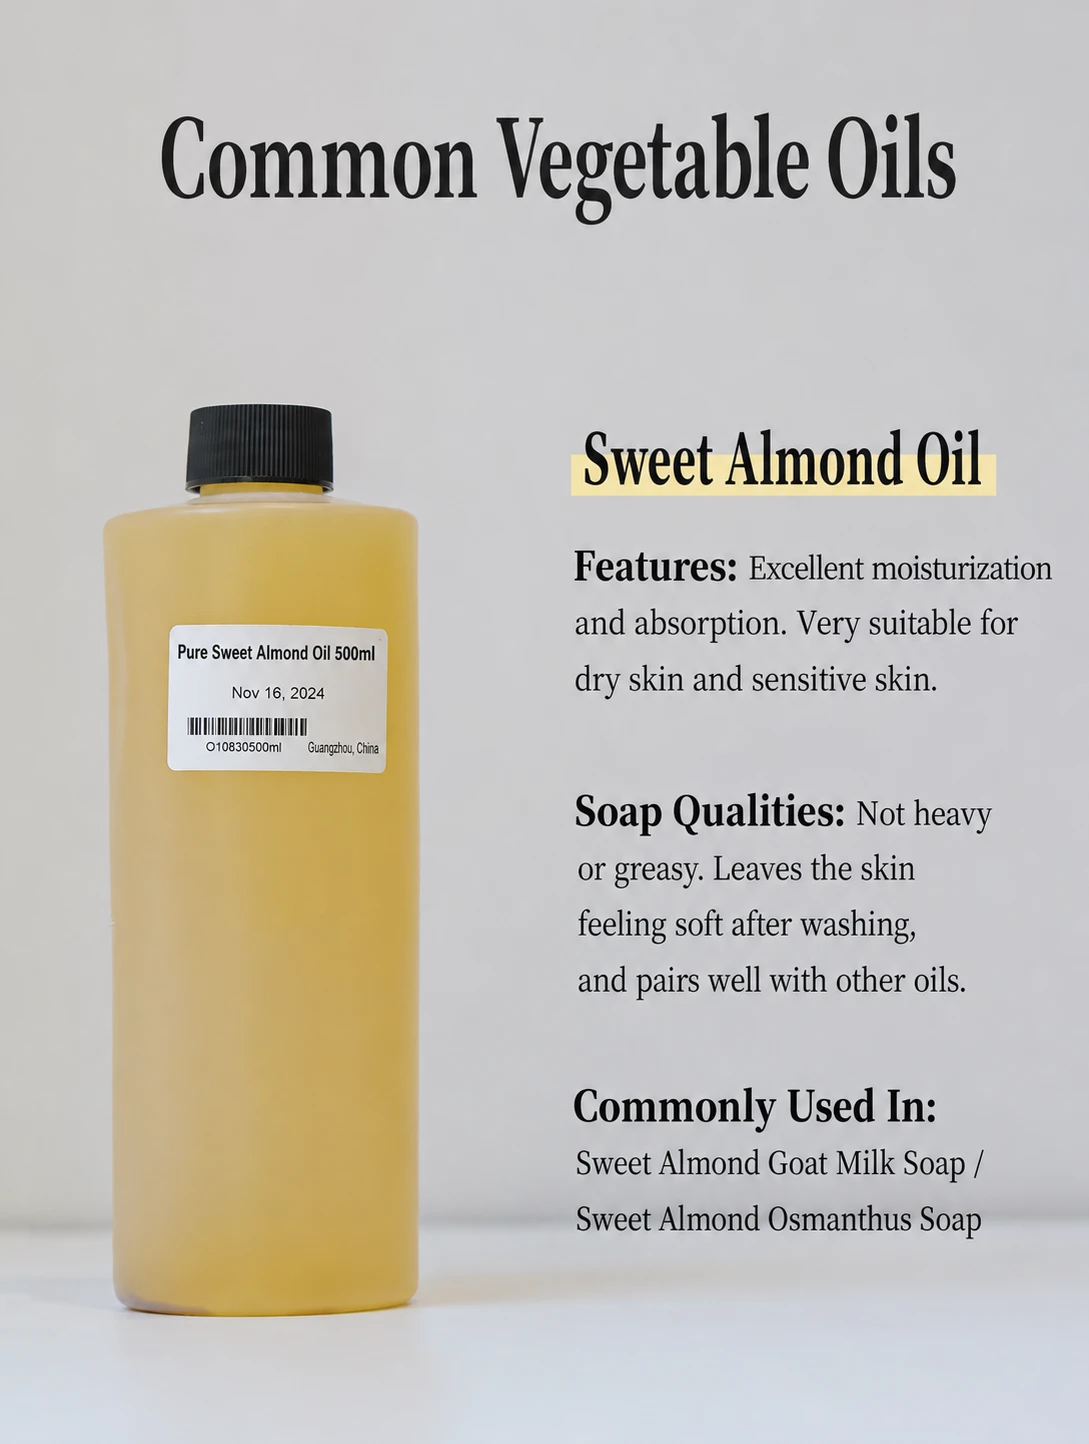
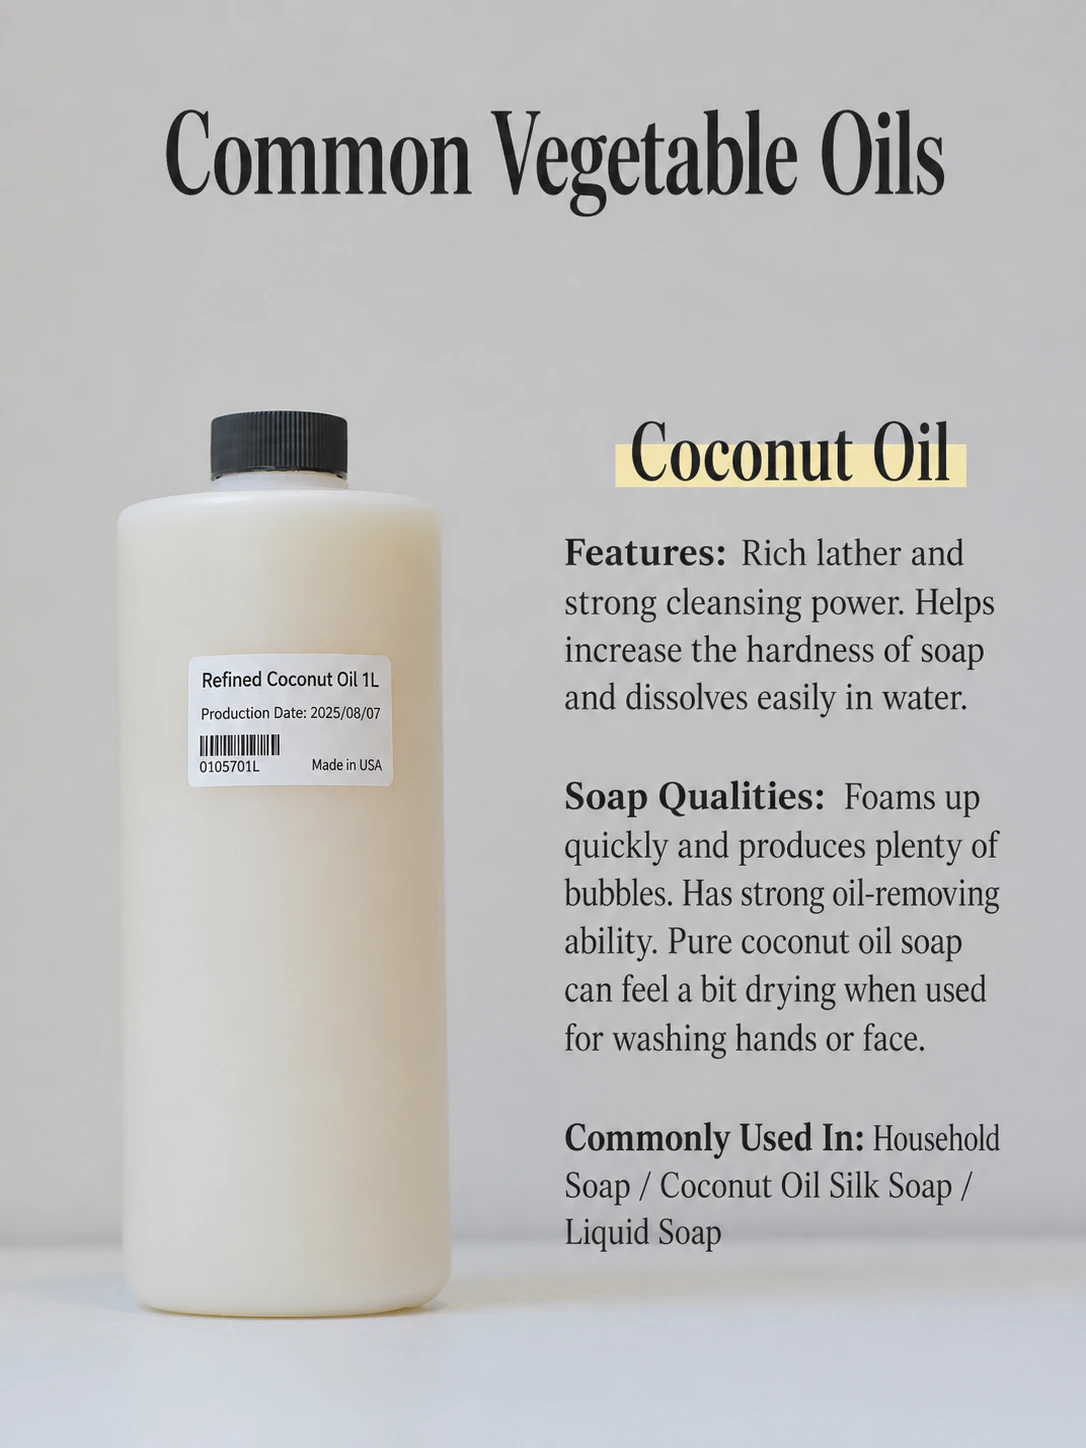
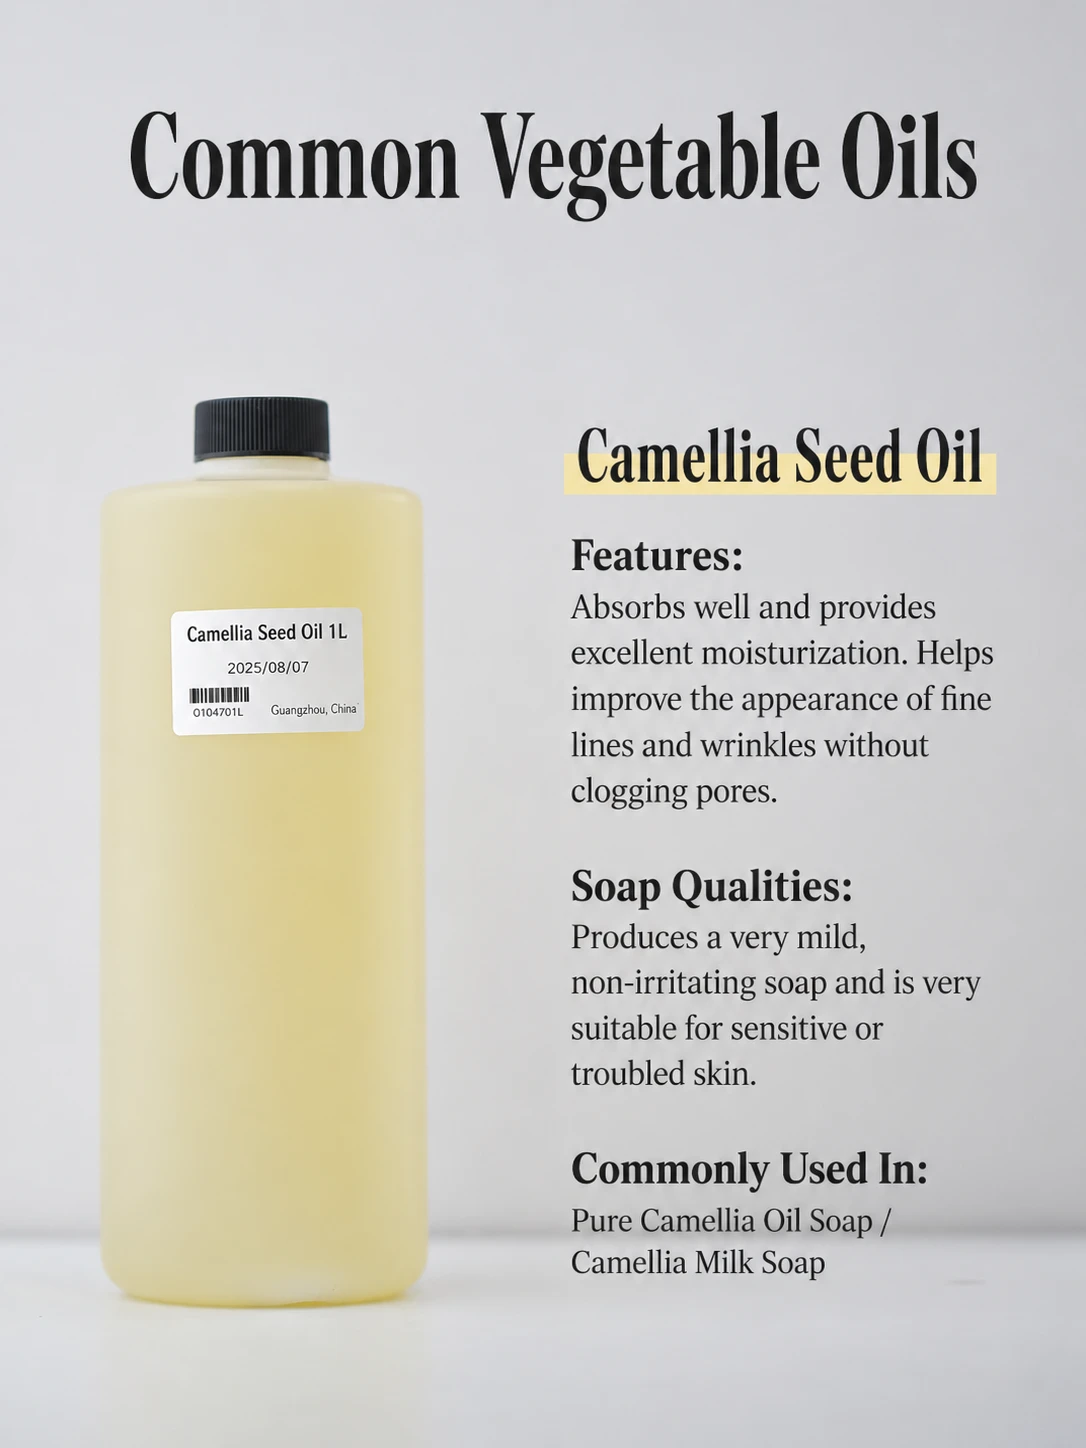
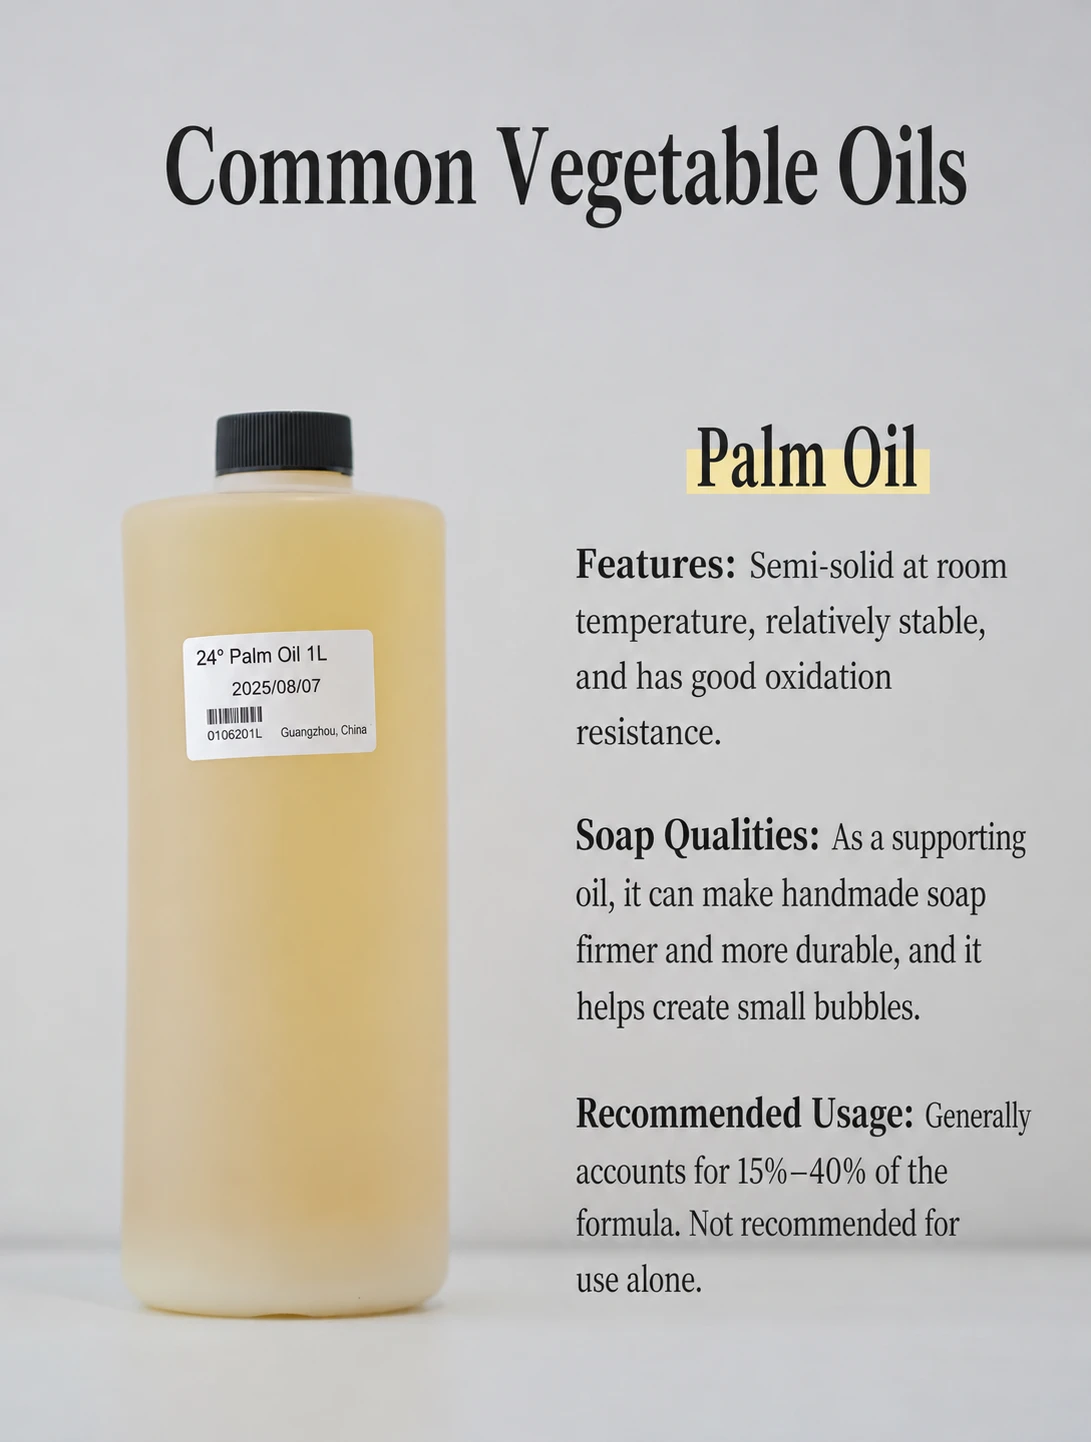
Before Making Soap, start with soapmaking oils that behave the same every time, not whatever is half-empty in the pantry.
- Firmness: Use more hard oils when you want a bar that unmolds without drama. Check the saponification value so your lye math stays sane across brands.
- Conditioning: Add soft oils for a nicer feel, but do not let the bar turn squishy. Scan your fatty profile — fatty acids tell you a lot about slip vs. cleanse.
- Cleansing and longevity matter together; do not chase big bubbles and forget wear time.
- Iodine value can hint at softness and DOS risk; keep it in a comfortable range for your climate.
- Stick to what you can restock locally; oils and fats that vanish mid-season wreck consistency.
- If you are building a house recipe, Soap Craft Lab suggests saving a known-good base and only changing one oil at a time.
Fragrance or Essential Oil? Balancing Scent and Safety
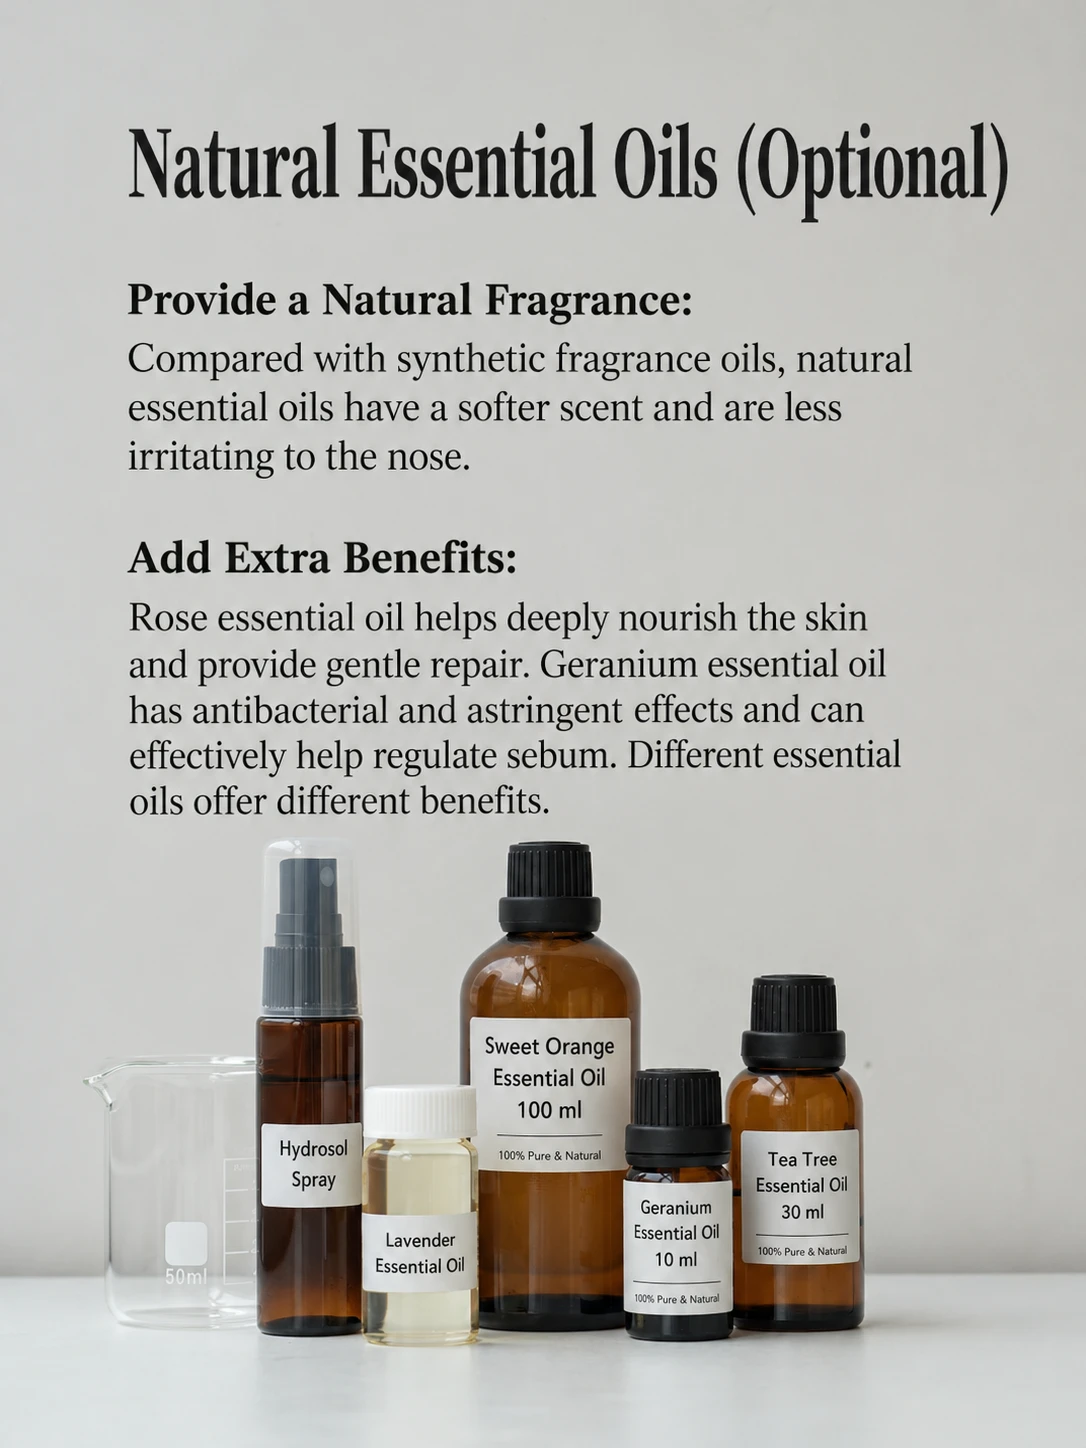
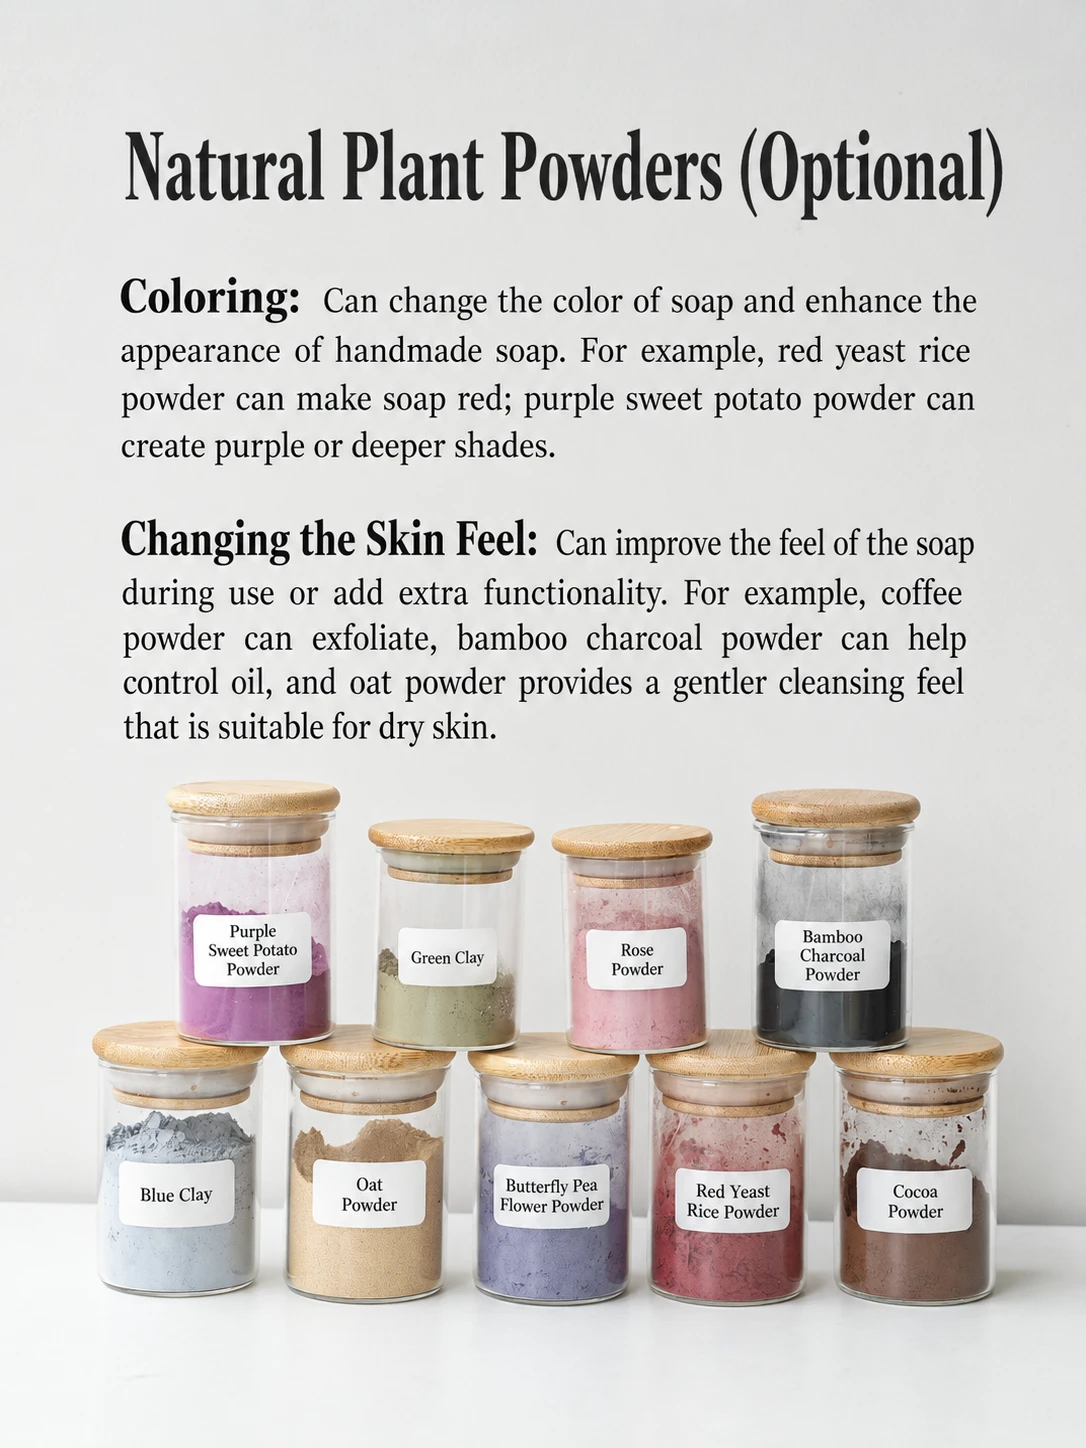
Before Making Soap, decide if you are using fragrance oils for consistency or essential oils for a more natural vibe; both can be safe, both can bite back.
- Skin safety: match your usage rate to IFRA guidance (for fragrance) or trusted dermal limits (for essential oils).
- Allergens: keep labels clean and honest; some scents carry mandatory declarations.
- Flashpoint: do not obsess over it for cold process, but do store smart and keep good ventilation.
- Measure scent by weight, not glugs, and write the exact usage rates in your notes.
- Test a tiny batch: some scents accelerate, rice, or seize, and you do not want to learn that in a full mold.
- Watch for discoloration and fade; that perfect vanilla may turn your pretty swirls tan overnight.
For aromatherapy-style blends, keep aromatherapy claims modest and focused on experience, not medical promises.
Water Quality Matters for Your Lye Solution
Before making soap, treat water like an ingredient, not background noise. If your lye solution turns cloudy or gritty, you are watching minerals mess with dissolution — like the soap version of a stalled connection with zero usable output.
- Best default: Distilled water has no surprises, fewer weird reactions, and cleaner-looking batter.
- Risky default: Tap water has mineral content and hardness that swing by neighborhood and season.
- Minerals can make scum and dullness later, especially in hard-water showers, and cause uneven mixing now — stubborn bits can linger and throw off your process.
- Quick check: If your water leaves kettle scale, assume high minerals. If your dissolved lye will not clear as expected, blame impurities before you blame your stirring.
Accurate Weighing: Tools and Tricks for Zero Error
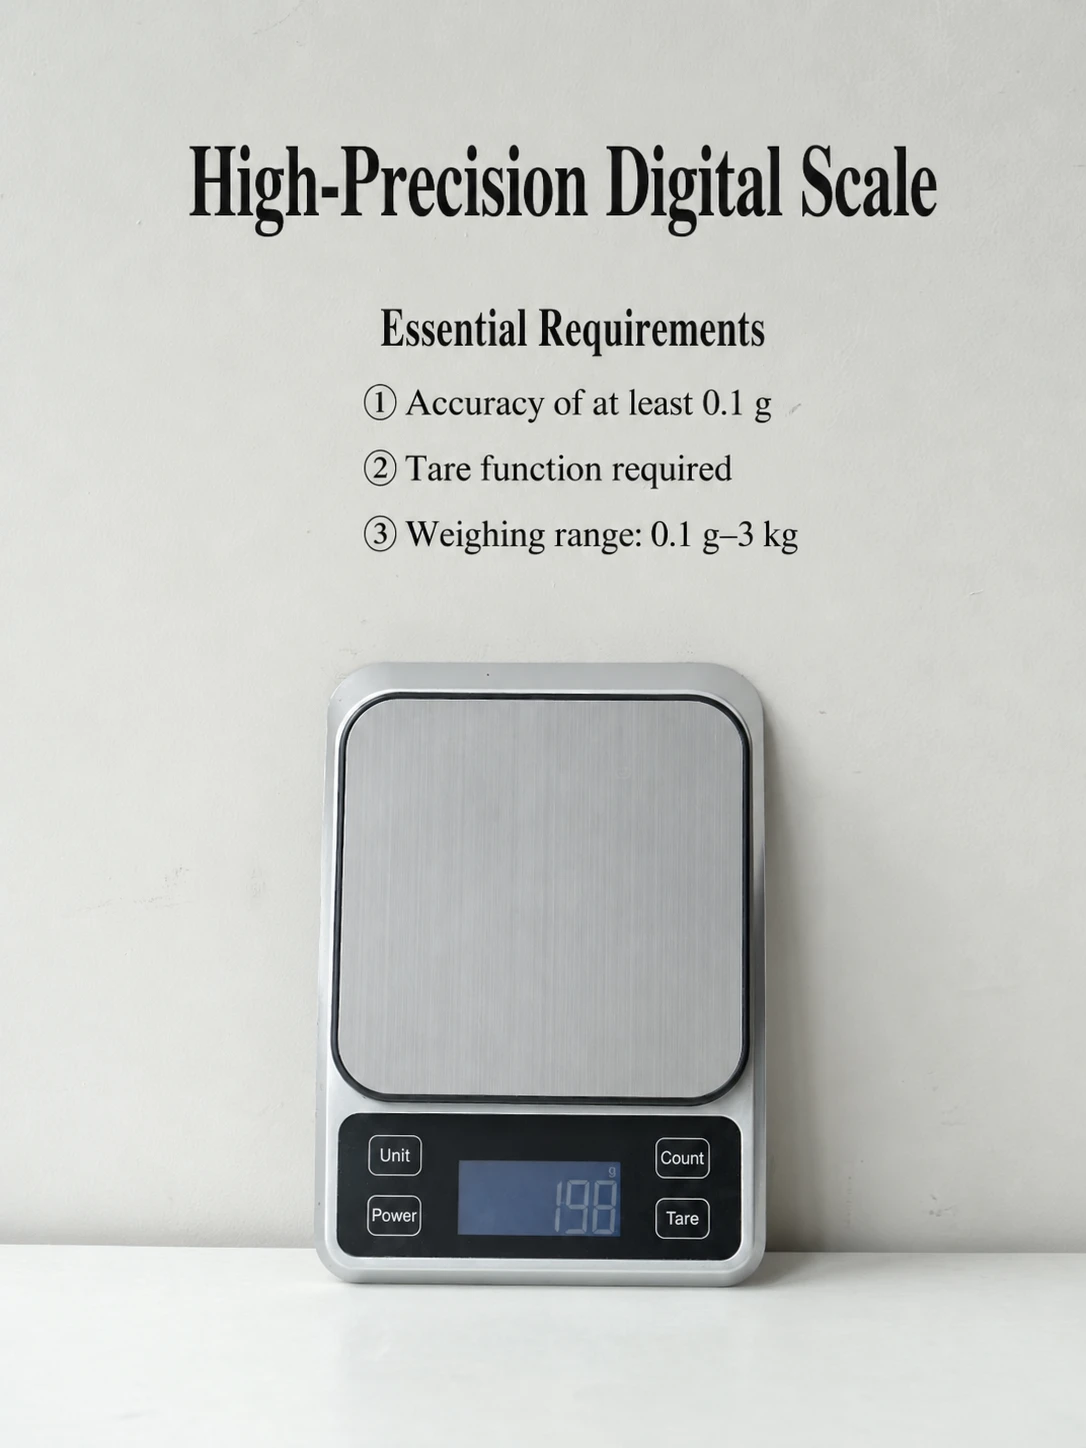
Before Making Soap, this is the non-negotiable: weigh everything. Volume is for cooking; soap is chemistry with attitude.
- A stable digital scale with a responsive tare function.
- Periodic calibration — even a decent scale drifts after bumps and humidity.
- Tare every cup and pitcher; do not do mental subtraction while handling lye.
- Stick to gram measurement for cleaner math and fewer rounding mistakes.
- Use a trusted soap calculator, then double-check oil weights and superfat setting.
- If you change even one oil, recalc — different SAP means different lye.
- Record weighing accuracy quirks (like slow settling) and aim for consistent measurement precision each batch.
- Soap Craft Lab keeps it simple: write it down, or you will reinvent the same recipe five times.
Safety and Equipment Essentials
Before Making Soap, the vibe should be calm, not chaotic. This is the part where you set up your guardrails: gear on your body, airflow in your space, and sodium hydroxide treated like the serious chemical it is. Soap Craft Lab keeps it simple — make Before Making Soap a routine, not a gamble.
Protective Gear: Goggles, Gloves, and Aprons
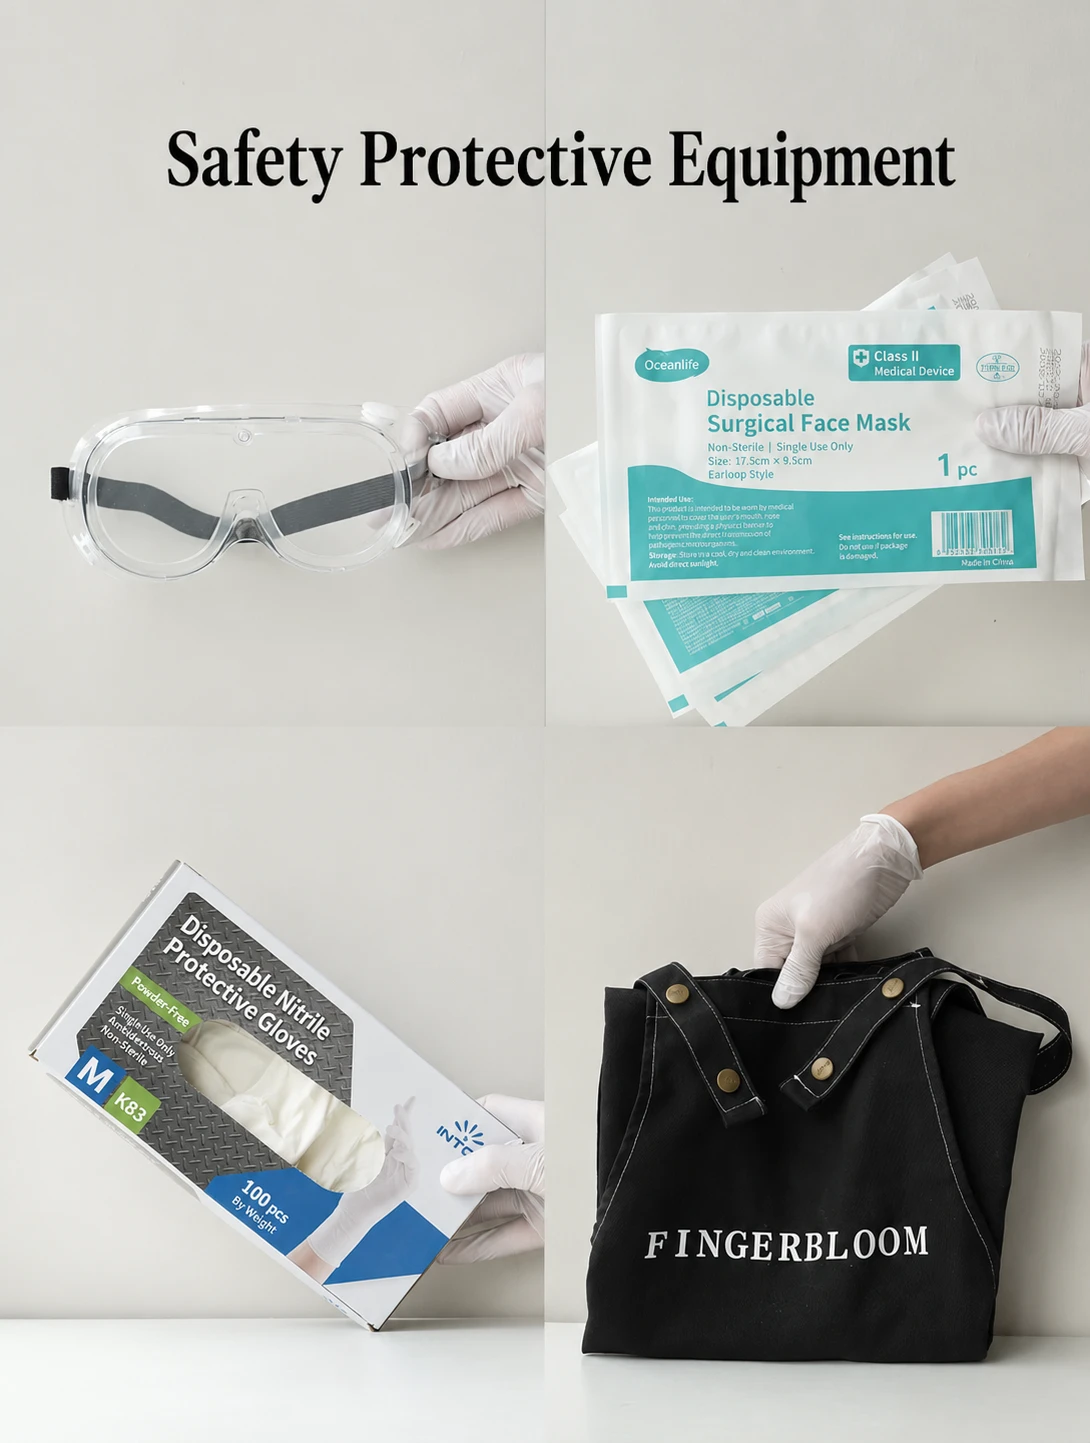
Before Making Soap, get your no surprises kit on, because raw batter does not care if you were in a hurry. For eye protection, commit fully: safety goggles that seal beat loose glasses every time.
- Face and eyes: sealed safety goggles for real eye protection.
- Hands and wrists: chemical resistant gloves for steady hand protection; long sleeves pulled over cuffs so splashes do not sneak in.
- Torso and legs: a protective apron for reliable body protection.
- Vinegar helps on counters, not skin; keep it as an oops-on-surfaces cleaner only.
- If something hits you, rinse with lots of cool water and do not try to outsmart chemistry.
Soap Craft Lab: Soap Craft Lab tip: stash spare gloves near your oils so Before Making Soap does not start with rummaging.
Ventilation and Workspace Setup
Before Making Soap, set the room up so you are not doing the awkward shuffle with a smoking lye cup. Use an open window plus a fan for real air circulation, or a proper ventilation system if you have got one; a fume hood is the gold standard, but basic airflow still beats stale air.
A tight workspace setup looks like this: clear counters, a clean workspace, and an organized area where your scale, spoon, and mold are not playing hide-and-seek. Keep kids and pets out — no debate. That frozen moment usually is not tech; it is your brain freezing after a spill, then rushing the next move.
| Setup check (Before Making Soap) | Minimum target | Safer target |
|---|---|---|
| Clear counter space (sq m) | 0.5 | 1.0 |
| Open windows (count) | 1 | 2 |
| Fan distance from lye mix (m) | 1.0 | 2.0 |
| Wipe-down time before mixing (min) | 2 | 5 |
| People/pets in room (count) | 0 | 0 |
Safe Lye Handling and Storage Practices
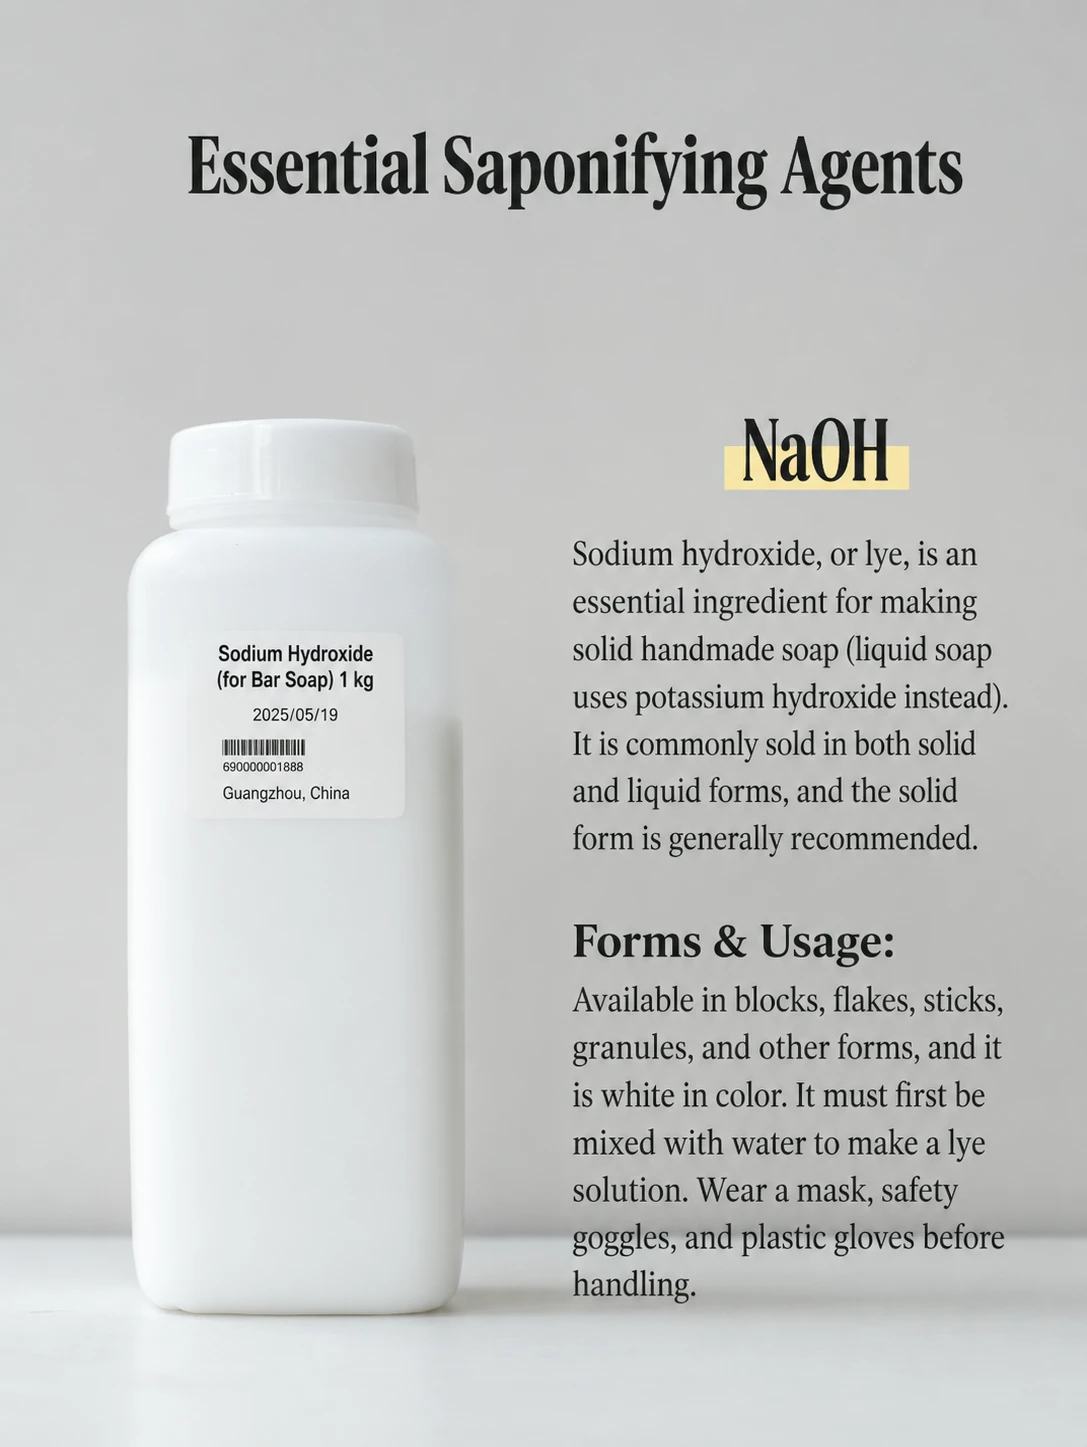
Before Making Soap, treat lye handling like you are handling a tool that bites. Store potassium hydroxide or sodium hydroxide in proper containers — airtight, clearly labeled, and parked in a cool dry place so humidity cannot turn the lid into a crusty mess.
- Add lye to water, never the reverse; it is not a cute saying, it is how you prevent a violent reaction.
- Use dedicated tools only; food tools do not belong in lye handling.
- Lye storage: airtight container, dry scoop, lid closed fast. Label with chemical name and date opened.
- Cleanup: wipe drips right away; do not come back to it. Keep an acid neutralizer for surfaces, and plenty of water for rinsing.
Soap Craft Lab: Soap Craft Lab keeps Before Making Soap boring on purpose — because boring is how you stay unburned.
Comparing Soap-Making Methods
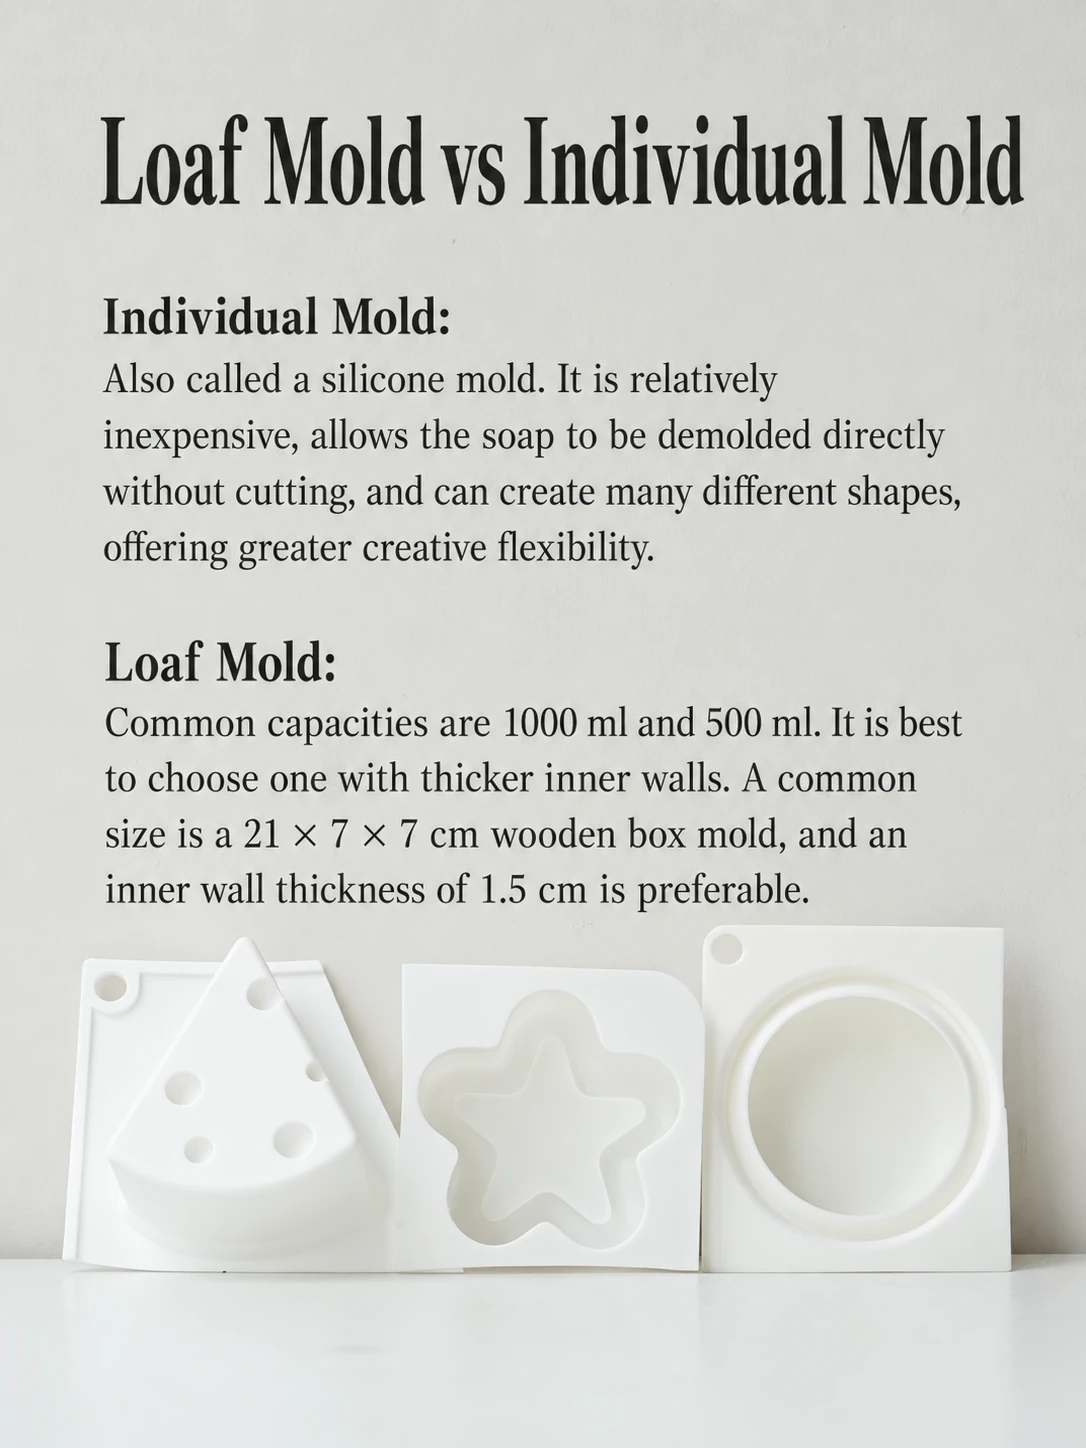
Before Making Soap, it helps to pick a method that fits your time, vibe, and comfort level. Compare how each path handles safety, look, and waiting around — Soap Craft Lab keeps it simple and real.
Cold Process
Before Making Soap, cold process is the you-are-in-charge route: you combine lye and oils, blend to trace, pour, then let saponification happen on its own schedule. That means curing time is the big trade — worth it if you want that clean, smooth bar.
- Design and feel: Swirls and layers are easiest here because trace can be light or thick. Texture turns tight and smooth once curing time is done.
- Control points: Recipe freedom lets you tweak oils for hardness, lather, or conditioning. Accurate lye math keeps the bar safe and comfy.
- Timing: Saponification takes mostly 24 to 48 hours. Curing time takes weeks, so soap now is not the vibe.
Before Making Soap, think patient maker, not instant gratification, and you will be happy.
Hot Process
Before Making Soap, hot process is the same basic chemistry — lye plus oils — but you add cooking so finished soap shows up faster, even if the texture looks a little rustic. Soap Craft Lab fans usually pick this when a scent acts stubborn in cold process.
- You mix lye and oils, then hit cooking until the batter looks done.
- The texture turns more mashed-potato than silky, so fancy swirls are not the main event.
- You can often cut sooner, and the finished soap can be used earlier, though a short dry-down still helps.
Before Making Soap, if you like reliable milestones — mix, cook, mold — this method feels less like waiting and more like doing.
Melt and Pour
Before Making Soap, melt and pour skips the chemistry drama because a pre-made base is already saponified; you just melt, mix in additives, then set it up with fragrance and colorants. It is easy, but you trade away deep recipe control.
- Moisture and storage: Humidity can cause sweating, so wrap sooner rather than later. Softer bars often come down to base choice and climate.
- Customizing limits: Additives must behave in a pre-made base; too much can cloud or weep. Some fragrance oils discolor, and some colorants bleed.
This cheat-sheet helps you pick a base without guessing:
| Pre-made base type | Typical hardness (1-10) | Typical sweat risk (1-10) |
|---|---|---|
| Glycerin clear | 6 | 8 |
| Glycerin white | 6 | 7 |
| Shea-rich | 7 | 6 |
| Goat milk | 5 | 7 |
Before Making Soap, if you want gifts fast and low-stress, this is the clean win — Soap Craft Lab keeps it fun without the fuss.
Troubleshooting Common Issues
Before Making Soap, stuff can look perfect on paper, then go sideways in real life. This troubleshooting set helps you spot what happened, fix it fast, and set up smarter habits before making soap again. Soap Craft Lab keeps it practical.
Curing Problems: Humidity, Temperature, and Stuck Batches
Before Making Soap, set expectations: curing time shifts with seasons, not just recipes. When bars stay tacky, think humidity control and temperature regulation, not bad oils.
- Touch test: If the surface feels rubbery after 48 hours, you are likely fighting stuck soap from slow water loss.
- Cut test: If the center smears, airflow is probably weak, not your lye math.
- Air circulation: Space bars like snacks on a tray; rotate daily for the first week.
- Heat habits: Warm rooms can cause sweating; cool, steady temps stop warping.
- Stuck is not forever: Confirm full gel and complete saponification, then let time do its thing — before making soap next round, track room RH and temp like you track oils.
Preventing Sinking Tops and Soda Ash
Before Making Soap, watch your water and your heat; that is where sinking starts. Keep trace consistency steady — thin is fine, but watery plus hot equals trouble.
- Do not over-insulate; steady mold temperature beats extra cozy.
- Tighten lye concentration a bit (less water), especially with sugary soap additives.
- For soda ash, reduce air contact early: cover the mold for the first day.
- Spritz 91% isopropyl alcohol right after pour, then again after texture settles.
- Keep temps stable; sharp cool-downs invite ash.
Soap Craft Lab: Soap Craft Lab tip: if ash keeps showing up, log your room drafts — tiny airflow changes can be the whole story.
pH Correction: Testing and Adjustments for Gentle Cleansers
Before Making Soap, promise yourself one thing: do real pH testing, not tongue-zaps or vibes. For gentle soap, you are aiming for safe, stable alkalinity, plus a bar that still lathers.
- Solution method: Shave 1 g soap into 99 g distilled water, rest 1 hour, then test. You are checking lye balance (no free lye) and soap safety (not harsh).
- High reading: Extend cure, then re-test; mildness improves as water leaves.
- Confirmed lye-heavy: Rebatch beats risky acid adjustment that can wreck structure.
| Sample | Dilution Ratio | Measured pH | Action |
|---|---|---|---|
| A | 1:99 | 9.2 | Cure 2 to 4 more weeks |
| B | 1:99 | 10.0 | Re-test after 7 days cure |
| C | 1:99 | 10.7 | Rebatch; check lye balance |
| D | 1:99 | 11.2 | Stop use; rebatch + confirm weights |
Soap Craft Lab keeps this simple: test, wait, then fix — do not toss acids in and hope.
Rebatching: Fixing Seized Batches
Before Making Soap, accept it: seized batches happen, like batter rage-quitting mid-pour. Rebatching soap is the comeback move — serious batch salvage without drama.
- Shred for even heating: Fine shreds give smoother texture correction.
- Heat low and slow: Add tiny liquid amounts (1 to 2 tsp per pound) only if it is crumbly.
- Finish smart: Press into mold; it will not pour like fresh batter, and that is normal in the soap making process.
If things stall mid-rebatch, you can still win: pause heat, add a spoon of warm distilled water, then keep stirring until workable soap repair texture returns.
Soap Craft Lab: Soap Craft Lab reminder: before making soap again, label fragrance temps — over-hot FO is a repeat offender.