
Handmade soap's cold process vs melt and pour isn't a cute craft debate; it's the difference between cooking from scratch with lye on the stove and microwaving a premade base. One route grants total ingredient control, the other grants speed and safety.
That tension shows up in price tags, cure times, and skin feel: rustic bars that need weeks to harden, or glossy clears ready tonight. Pick your priorities now.
Quick Answers: Cold Process vs Melt and Pour
- Process Foundation: Cold process crafts soap via lye-oil saponification and weeks-long curing; melt and pour simply remelts a pre-made base for immediate molding.
- Customization vs Convenience: Cold process offers full control over oils, superfat level, and additives; melt and pour excels in speed, safety, and beginner ease.
- Timeframe and Safety: Cold process demands 4-6 weeks cure and lye precautions; melt and pour sets within hours with minimal hazard.
- Texture and Performance: Cold process yields rustic bars rich in natural glycerin and robust lather; melt and pour delivers glossy, consistent soaps ideal for layering and embeds.
Understanding Cold Process Soap Making
Handmade soap's cold process vs melt and pour gets people fired up, but it's not a cage match. Cold process soap is about chemistry you control; melt and pour is about speed and convenience. Soap Craft Lab keeps it practical so your bars come out clean, safe, and good-looking.
The Science of Saponification
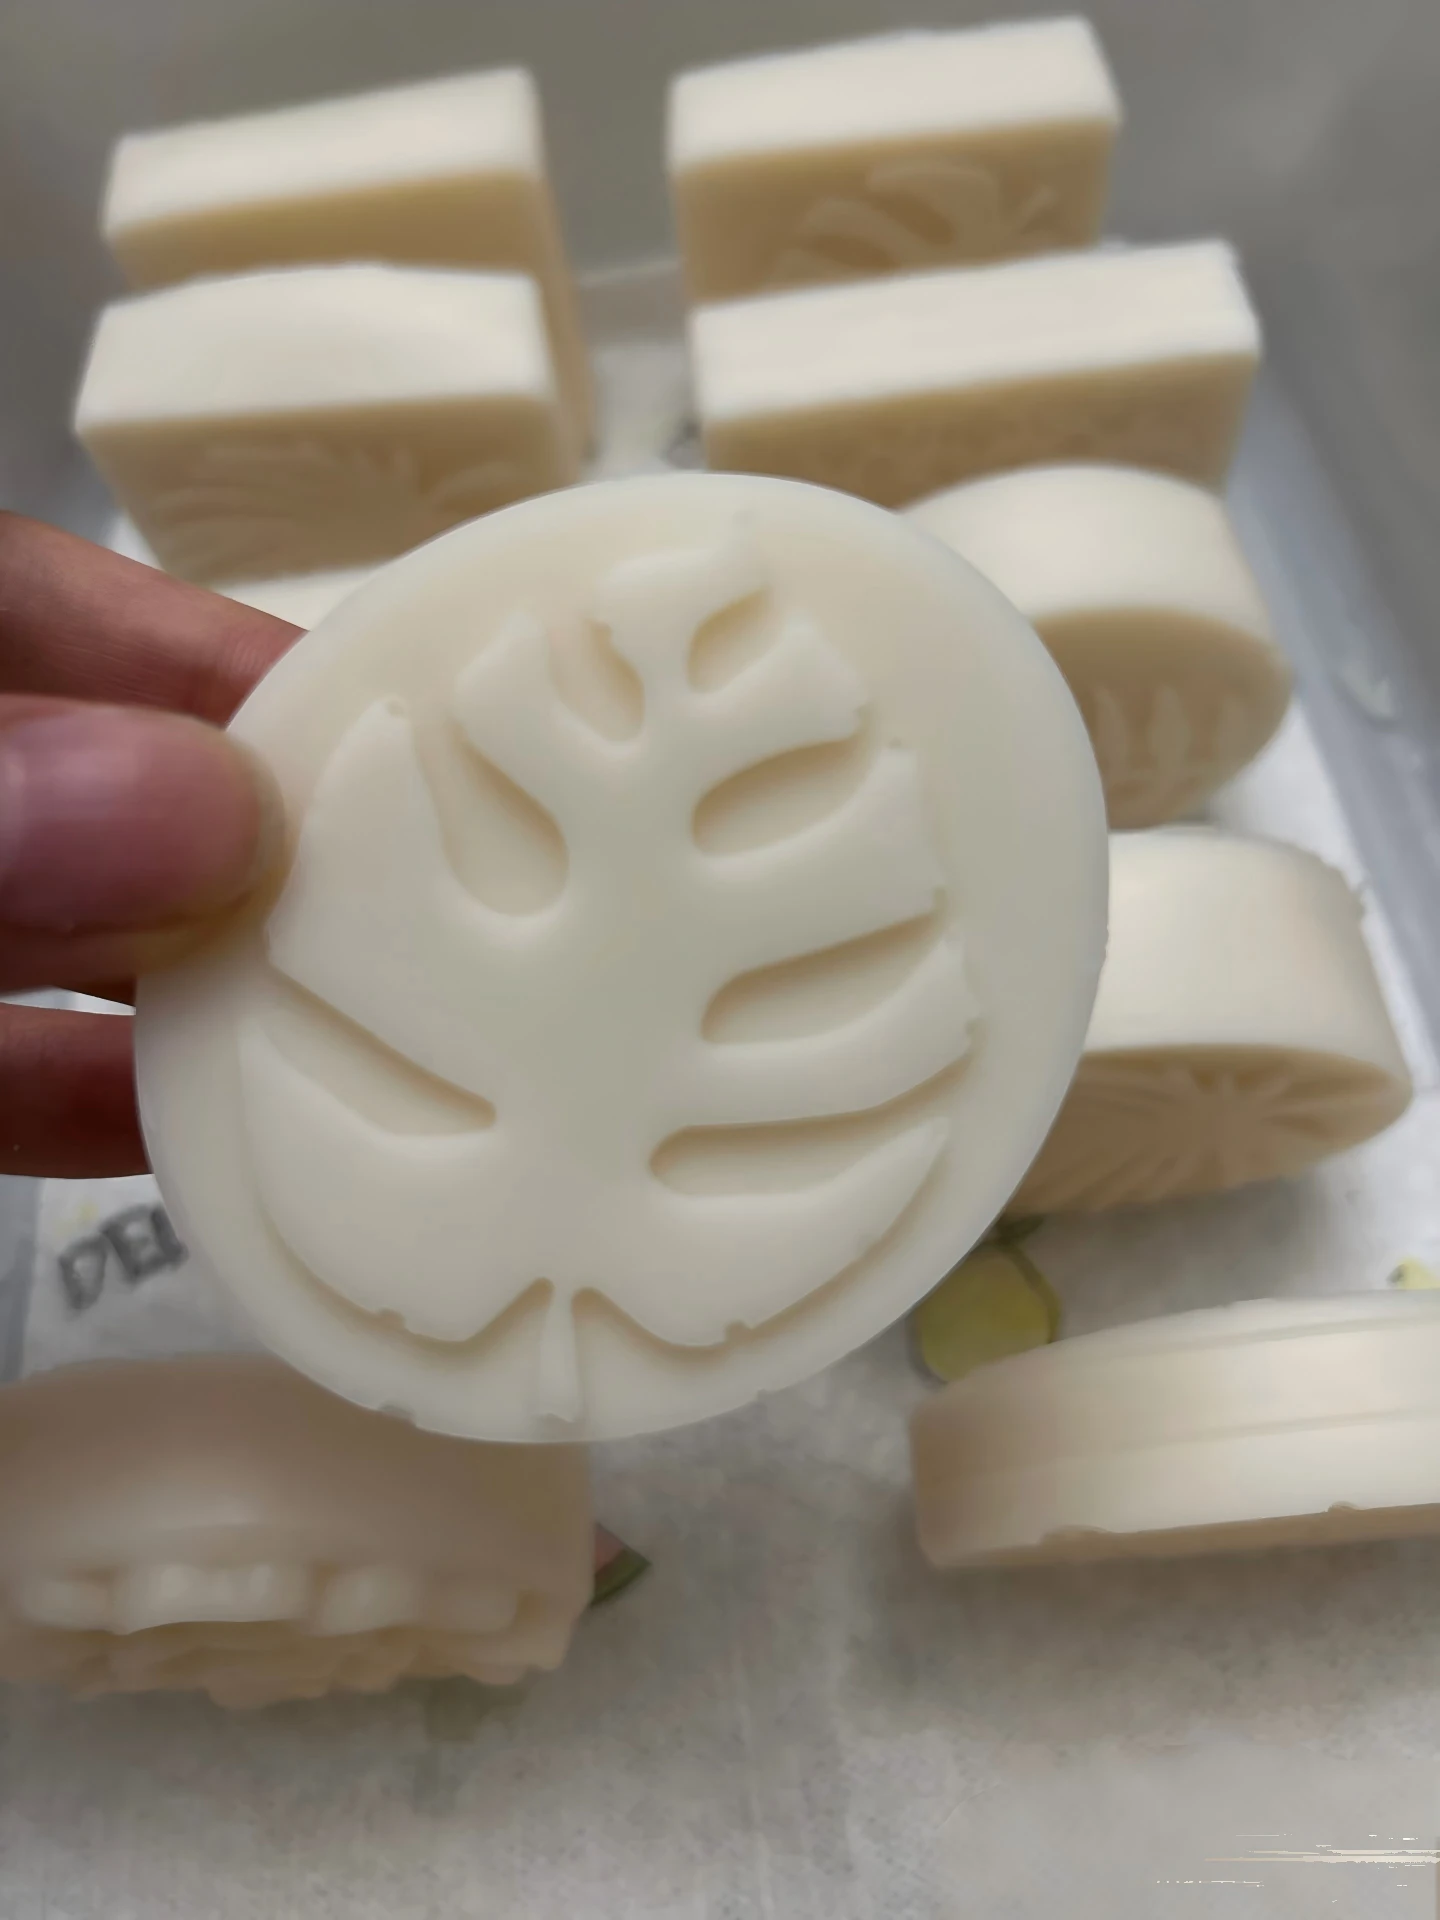
Saponification is the core chemical reaction: lye meets oils and broken-up fatty acids, then soap and glycerin show up like clockwork. Handmade soap's cold process vs melt and pour matters here, because cold process lets this reaction happen in your mold, not in a pre-made base.
How the Mix Behaves
- Emulsification: lye solution and warm oils start as enemies. Blending forces a stable emulsion, so the batch doesn't split.
- pH: Early batter runs high; later it calms down as the reaction finishes.
- Superfat and feel: oils left unreacted (superfatting) can soften the cleanse and boost slip, but too much can dull lather.
Tracing to Pouring: Step-by-Step Technique
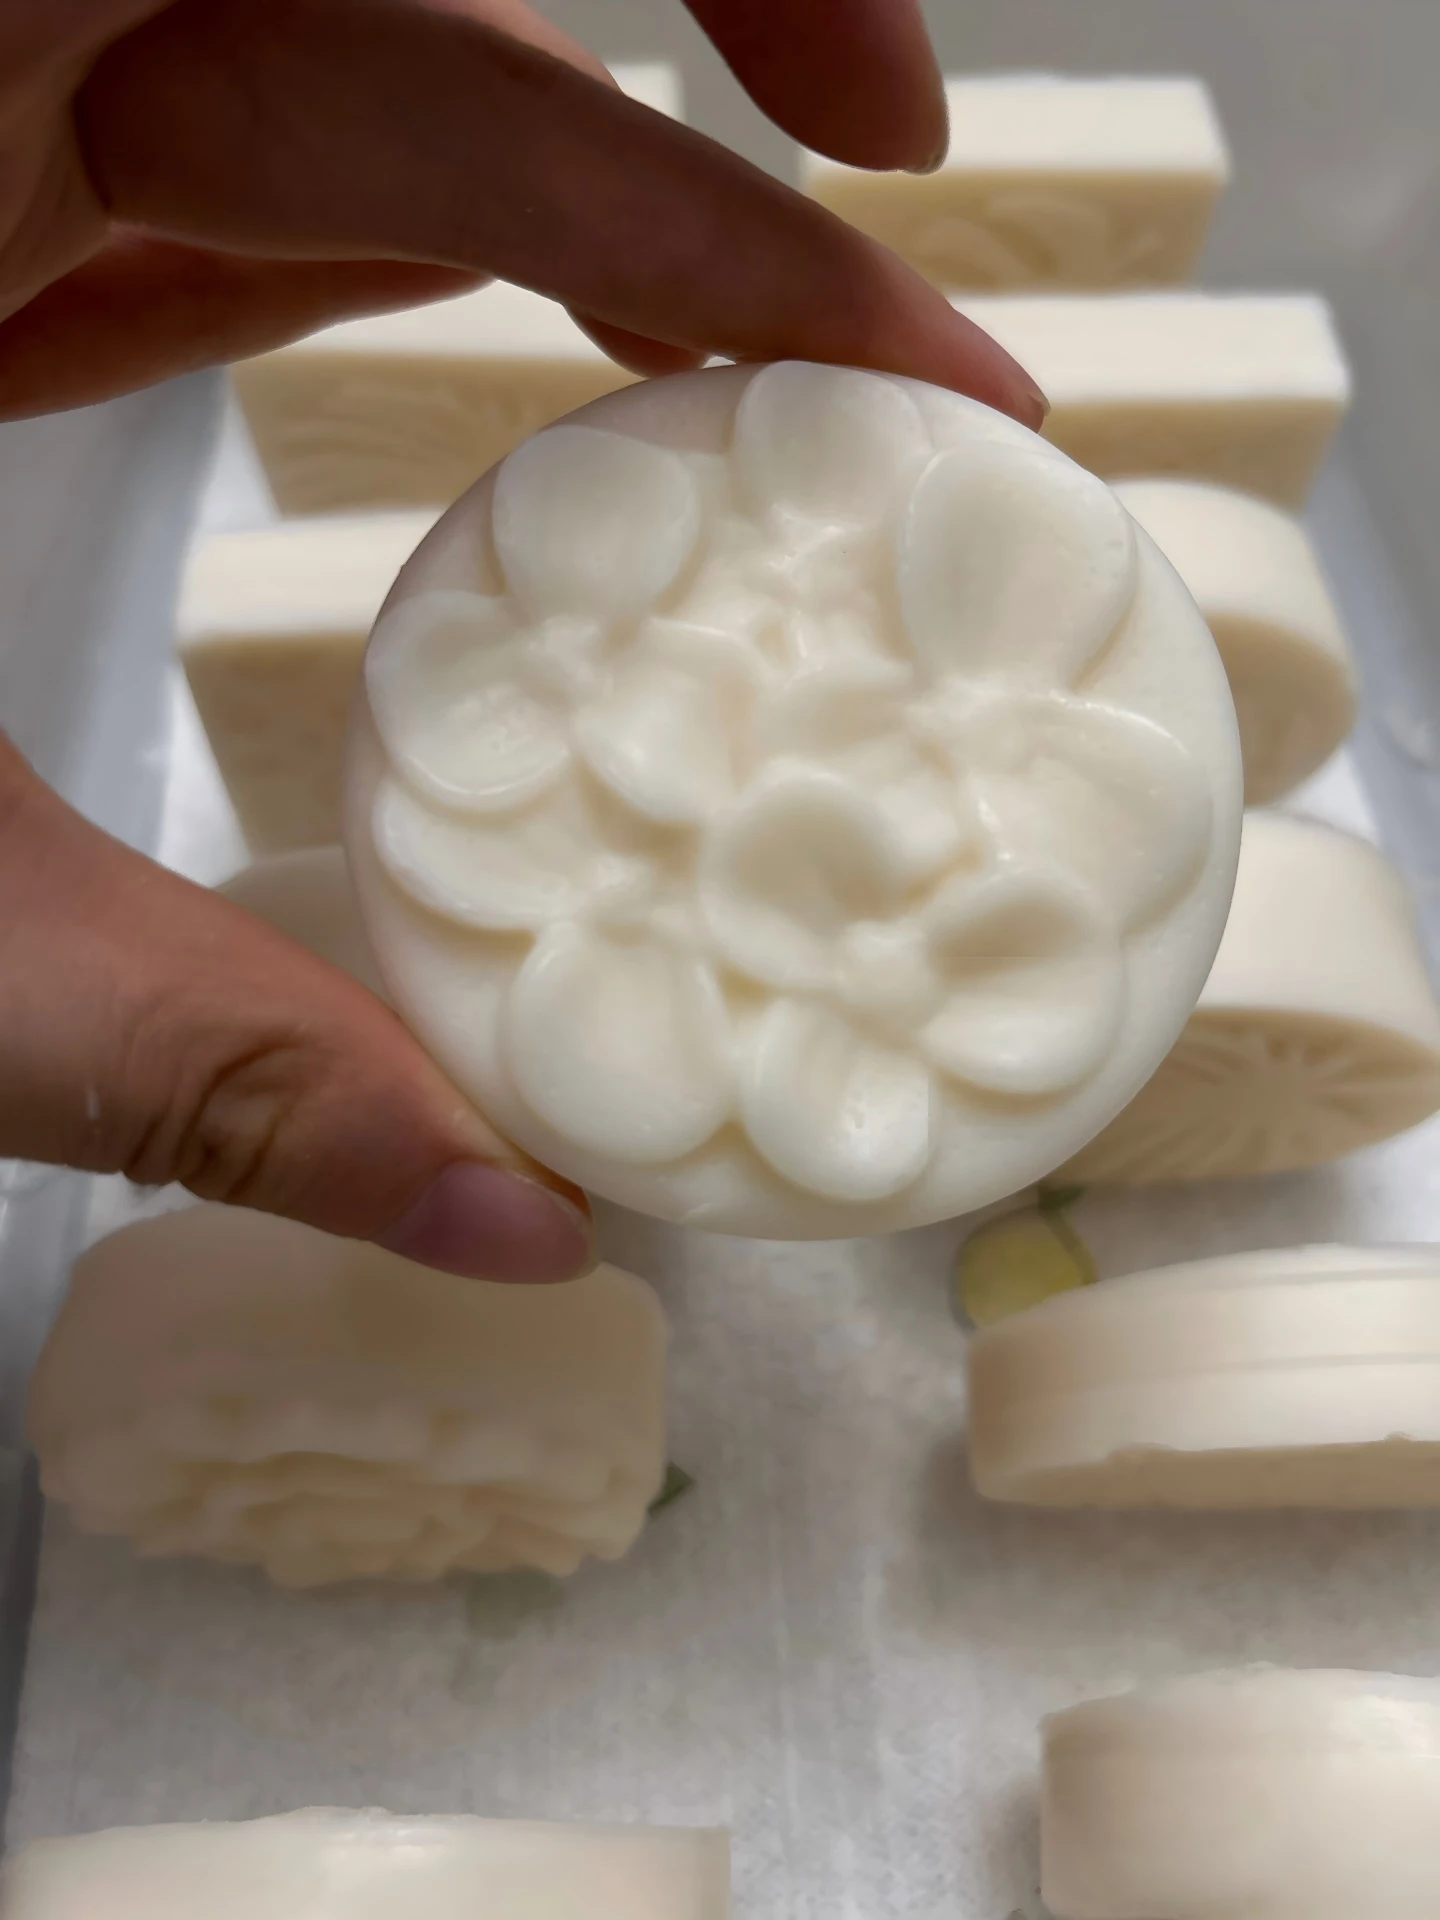
Cold process is hands-on, and trace is your green light for pouring. Handmade soap's cold process vs melt and pour is obvious in this moment: melt-and-pour skips the raw lye work, while cold process gives you full control of texture and timing.
Soap Craft Lab: Quick hits before you start: soap mold lined and ready, stick blender checked (no loose head), add-ins staged for design, layering, and swirls.
- Mix cooled lye solution into melted oils.
- Pulse the stick blender to light trace; stop once it thickens slightly.
- Split batter for swirls or layering if you want a bold design.
- Commit to pouring; tap the soap mold to pop air bubbles.
Curing Duration and pH Level
Curing isn't optional; it's the part that turns fresh bar into real bar soap with better hardness, smoother rinse, and stronger lather. Handmade soap's cold process vs melt and pour also shows up here: melt and pour can be used fast, but cold-process earns that longer shelf life through water evaporation and structure tightening.
What Changes While It Sits
- Moisture: water evaporation shrinks the bar and makes it last longer.
- Skin feel: the pH level settles into a safer, less zappy range.
- Quality control: testing (zap test + pH strips) keeps you honest.
| Week | Avg Water Loss (%) | Typical pH Level Range | Hardness (1-10) |
|---|---|---|---|
| 1 | 8-12 | 10.5-11.5 | 3-5 |
| 3 | 14-20 | 9.8-10.8 | 6-7 |
| 6 | 20-28 | 9.0-10.2 | 8-9 |
Soap Craft Lab: Soap Craft Lab tip: if your bar dents easily at week 4, let it ride; rushing this part is how decent soap turns into mush.
Oils, Fats, and Customization
Your oils and fats are the steering wheel for recipe formulation, and handmade soap's cold process vs melt and pour is basically from-scratch cooking vs reheating. Cold process lets you tune superfatting, manage cleansing strength, and play with additives without guessing.
How to Think About Oil Choices
- For bubbles: higher-lauric oils (like coconut) can boost lather, but don't overdo it.
- For mildness: olive-heavy blends feel gentle and creamy.
- For snap and polish: butters and hard fats can raise bar firmness.
Customizing With Control
- Fragrance: measure carefully; too much can seize batter.
- Colorants: disperse well so you don't get speckles unless that's the vibe.
- Additives: salt for a tighter bar, oats or clays for slip and a softer scrub.
If you're stuck between cold process vs melt and pour, try one small cold-process batch with a straightforward recipe, then tweak from there -- the results teach faster than any rule list.
Exploring Melt and Pour Soap Making
When comparing handmade soap's cold process vs melt and pour, beginners often feel torn. Cold process soap making sounds artisanal and slow; melt and pour feels quick and playful. This guide breaks down soap base selection, tools, and design tricks while naturally unpacking handmade soap's cold process vs melt and pour in everyday language.
Selecting the Right Soap Base
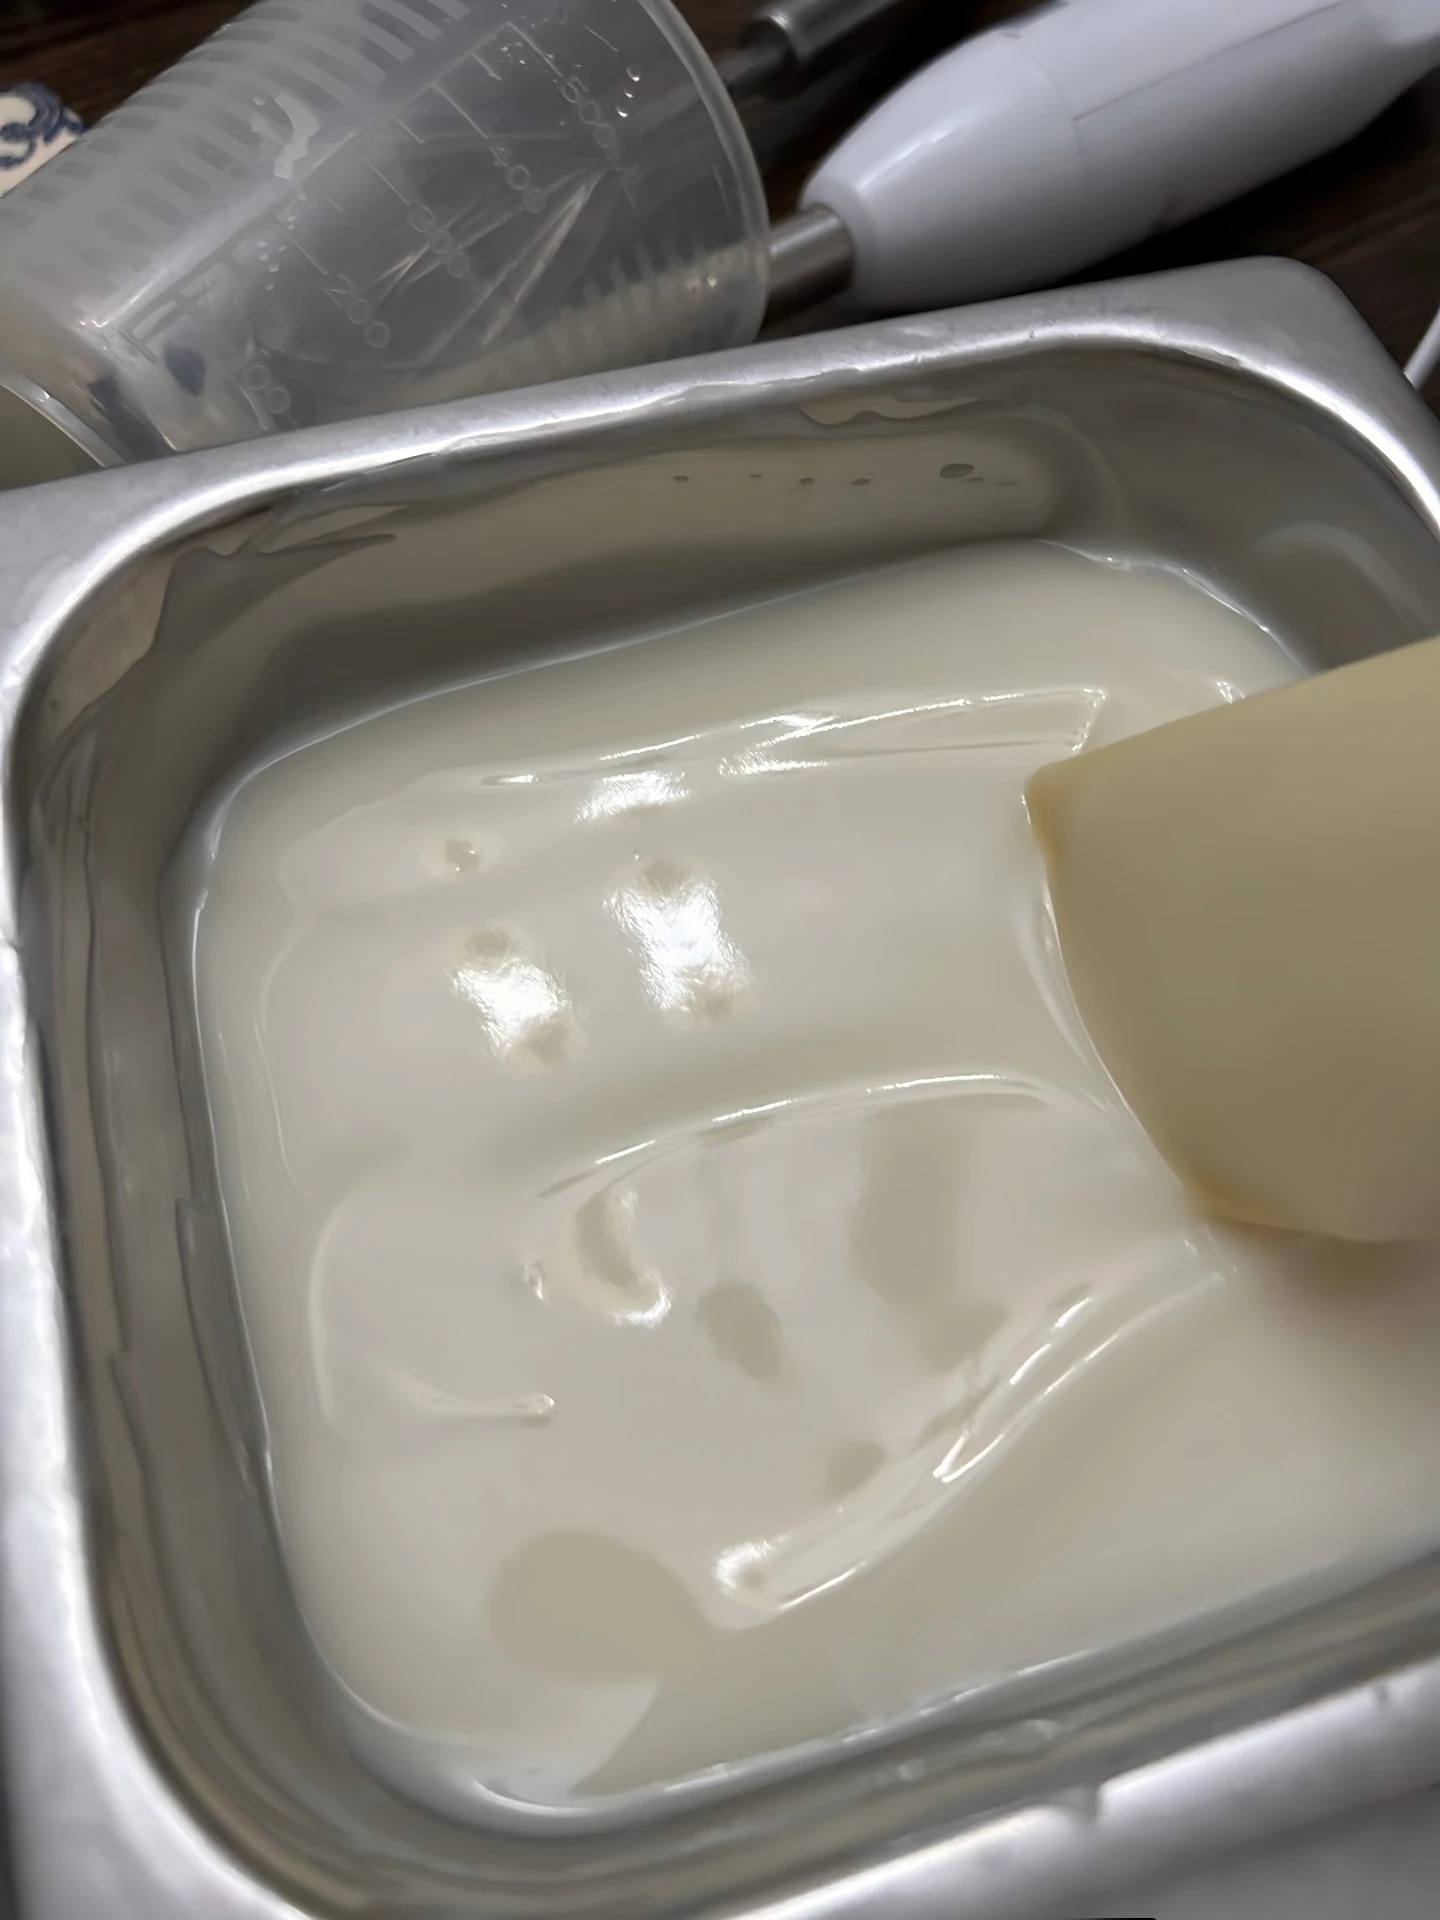
Understanding handmade soap's cold process vs melt and pour starts with the base. In melt and pour, your creativity hinges on choosing the right glycerin soap base.
Transparency Choices
- Clear soap base: best for embeds and layered art; highlights botanicals.
- Translucent soap base: soft glow finish; slightly masks imperfections.
Opacity Options
- White soap base: creamy appearance; ideal for bold pigments.
- Opaque soap base (often enriched with goat milk or shea): hides embeds; enhances pastel tones.
Soap Base Properties Snapshot
| Base Type | Visual Effect | Best Use |
|---|---|---|
| Clear | High transparency | Embedded designs |
| White | Solid opacity | Color-rich bars |
| Translucent | Semi-clear glow | Layered soaps |
When weighing handmade soap's cold process vs melt and pour, remember: cold process builds structure from scratch; melt and pour builds style from a ready-made foundation. Soap base selection drives texture, finish, and overall vibe.
Melting, Layering, and Swirling
The melt and pour technique feels relaxed but rewards control.
- Cut melted soap into cubes for even heating.
- Warm gently in short bursts.
- Stir with care to avoid bubbles.
- Keep pouring temperature around 120-130 degrees F for crisp soap layering.
- Spritz alcohol between layers to bond surfaces.
- Use skewers for clean soap swirling patterns.
Color magic comes from colorants for soap, while scent depth depends on fragrance oils or essential oils. Too hot? Your layers blur. Too cool? You get ridges.
Soap Craft Lab: Want sharp contrast? Let the first layer firm slightly before pouring the next.
Recent data from Grand View Research (2025 update) notes steady growth in the DIY personal care market, pointing out that consumers favor customizable, small-batch beauty formats with creative control. Melt and pour fits that mood perfectly.
In the wider conversation of handmade soap's cold process vs melt and pour, swirling is where melt and pour flexes fast artistic freedom.
Essential Equipment
When breaking down handmade soap's cold process vs melt and pour, tools tell half the story.
Heating Tools
- Heat-resistant containers: glass measuring cups, stainless pitchers.
- Soap making thermometer: prevents overheating; protects fragrance integrity.
Shaping and Handling Tools
- Soap molds: silicone molds (flexible, easy release); plastic molds (firm edges).
- Cutting tools: straight blades, wavy cutters.
- Stirring utensils and spatulas.
Cold process demands stick blenders and curing racks. Melt and pour? Fewer tools, less stress. That's why brands like Soap Craft Lab often recommend starter kits focused on safe heating and flexible molds when exploring handmade soap's cold process vs melt and pour.
Quick Turnaround and Beginner-Friendly Additives
Speed is the headline difference in handmade soap's cold process vs melt and pour.
- Set time: a few hours.
- Cure time: none required.
- Cleanup: simple.
Add-Ins That Stay Balanced
- DIY soap additives: botanicals for light texture; exfoliants like oatmeal.
- Moisture boosters: glycerin, shea butter.
- Fragrance loading: keep within supplier guidelines; avoid excess liquid.
Too much liquid causes sweating. Too many heavy oils soften bars.
Melt and pour soap suits beginner soap making because mistakes are fixable. Re-melt, adjust, reset. In handmade soap's cold process vs melt and pour discussions, that flexibility often tips the scale for hobbyists who want fast soap making without the wait.
Soap Craft Lab highlights this quick turnaround as a gateway for creators testing designs before committing to cold process batches.
At the end of the day, handmade soap's cold process vs melt and pour isn't a battle. It's about pace, control, and how hands-on you want your craft to be.
Cold Process vs Melt and Pour: Pros and Cons
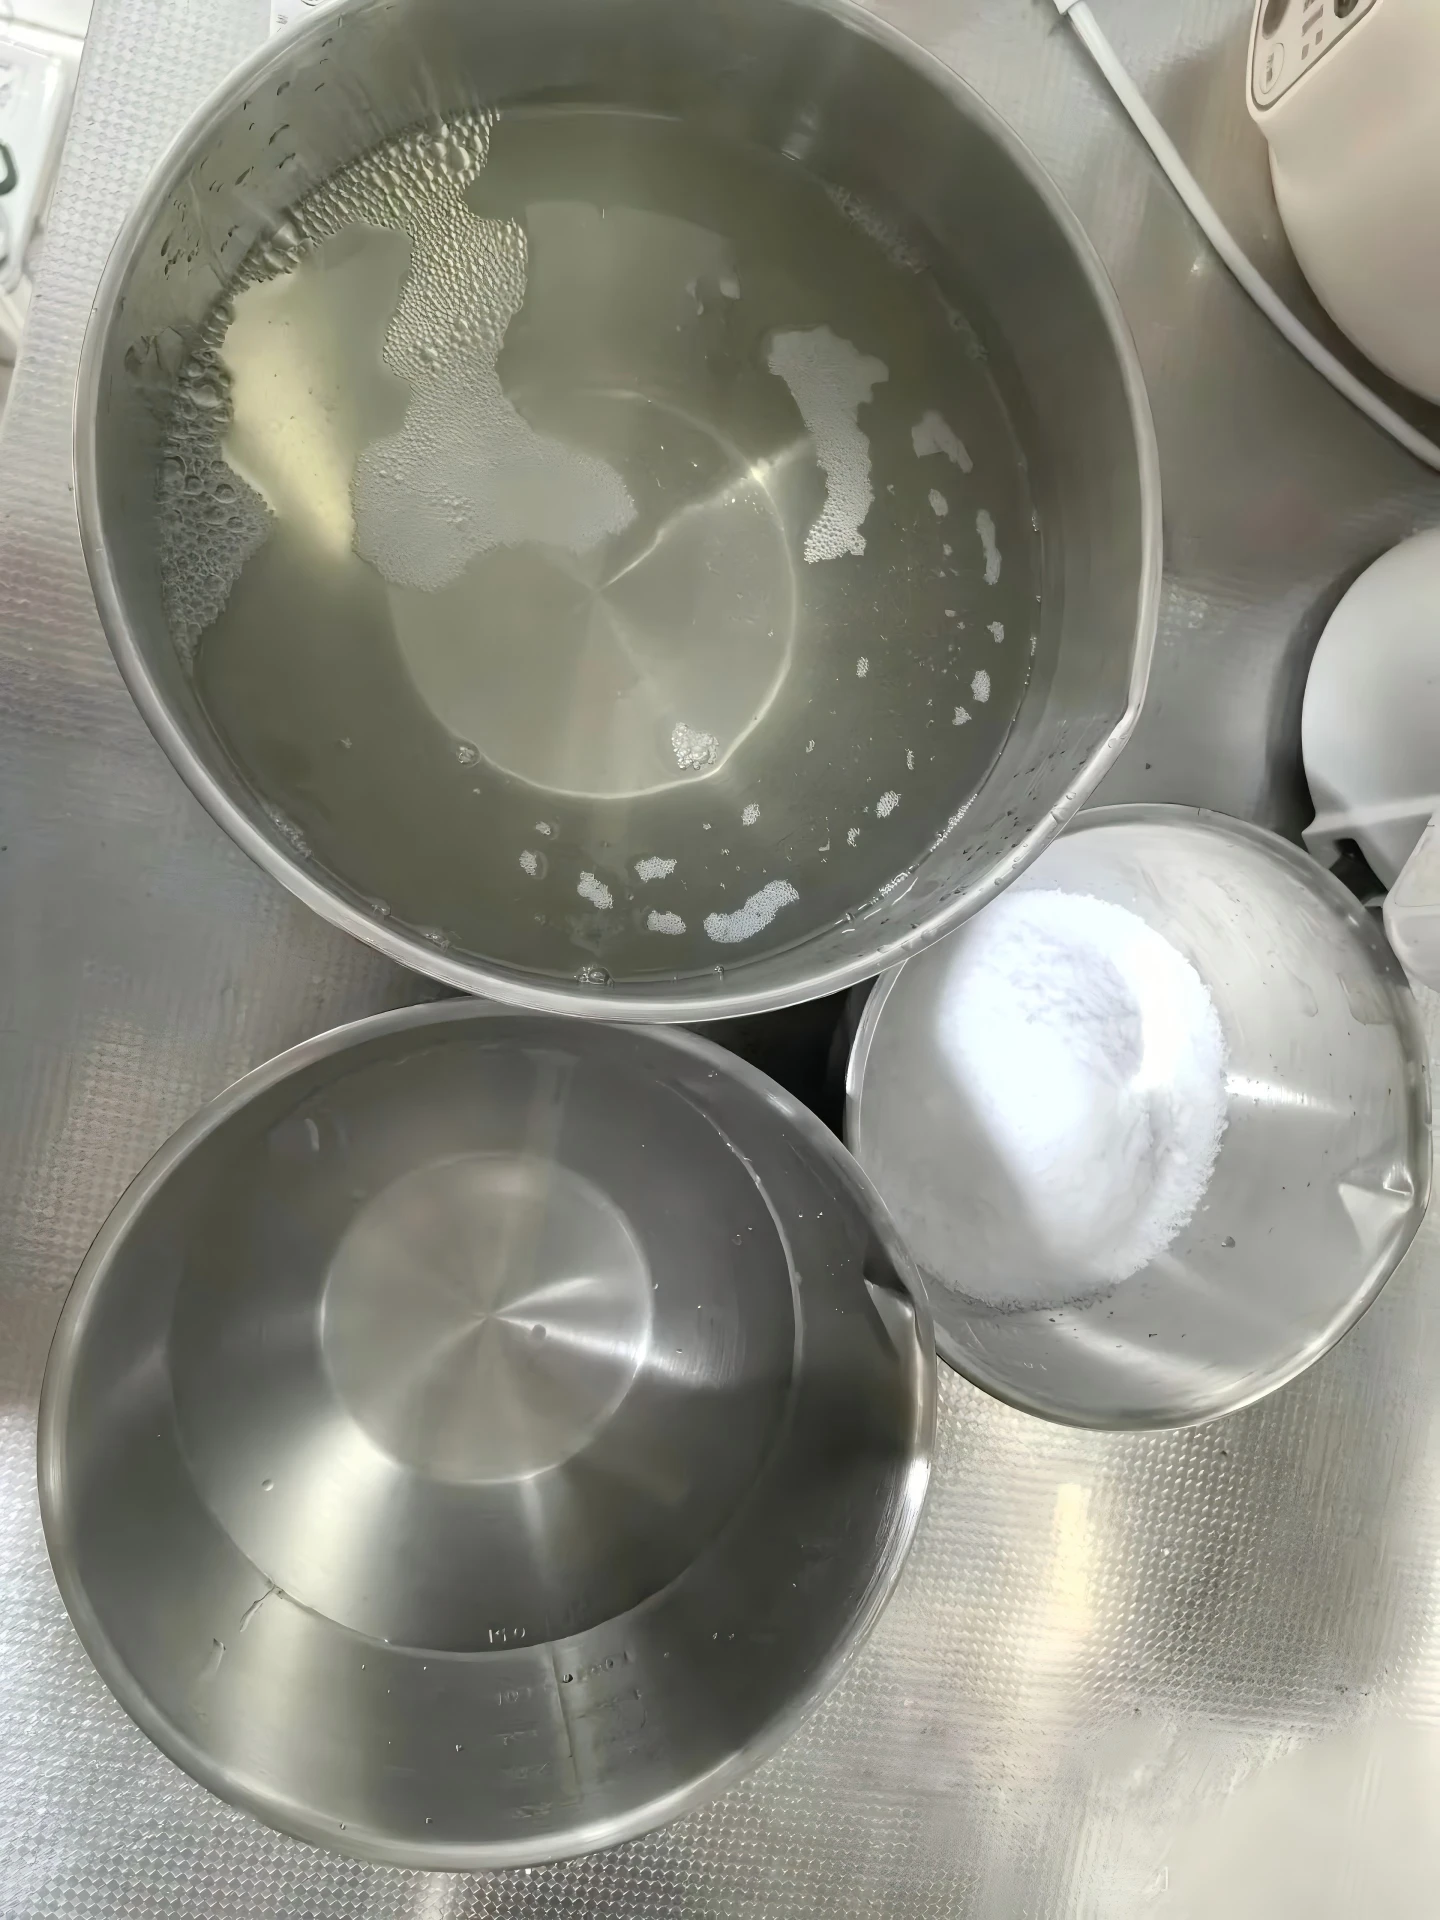
Handmade soap's cold process vs melt and pour gets talked about like it's a rivalry, but it's really just different vibes. This breakdown keeps it real: what you gain, what you risk, and what each method is actually like at the counter. Soap Craft Lab sees both work -- if you pick on purpose.
Cold Process Pros
Handmade soap's cold process vs melt and pour starts with power: customization and natural ingredients land in your hands, not in a factory's standard base.
Core Wins
- Ingredient choices: oils and fats let you tweak feel and glide, not just scent.
- Control over lye: set your own superfat and cleansing punch.
- Performance: longer shelf life comes from a proper cure and stable bars.
- Cost-effective once you're batching smart.
- Creative payoffs: unique designs show up through tracing, swirls, and textured tops that look like you actually meant it.
Cold Process Cons
If handmade soap's cold process vs melt and pour is the question, cold process is the respect the process answer. The steeper learning curve is real, and requires lye handling means serious safety precautions.
- Measure tight or expect potential for errors.
- Mix too hot and you risk overheating, separation, or a volcano moment.
The drag part: longer curing time slows launches and gift deadlines. Also: the messy process -- sticky tools, oily counters, and that why is everything slippery feeling.
Melt and Pour Pros
Handmade soap's cold process vs melt and pour flips fast in melt and pour: you trade deep control for ease of use and quick production.
Why People Stick With It
- Skill fit: beginner friendly -- no lye mixing, fewer I ruined it days; no lye handling keeps the safety setup simpler.
- Options: variety of bases (clear, goat milk, shea) makes testing easy.
- Style: creative freedom for crisp layers, embeds, and neat gift bars.
Melt-and-pour continues to outperform in hobbyist craft because it shortens the make-to-gift cycle and reduces chemical handling barriers, noted in a 2025 Craft and Hobby Association (CHA) trend brief.
Melt and Pour Cons
With handmade soap's cold process vs melt and pour, melt and pour's trade-offs show up after the bar cools.
- Limited ingredient control: the base is already decided, so true from-scratch soap fans may pass.
- Potential for sweating: humidity can cause glycerin dew, which feels a bit tacky.
Base quality varies, so one brand hardens nicely while another dents fast. Less customization in lather and hardness, and can be more expensive per finished bar -- Soap Craft Lab flags this when budgeting small-batch gifts.
Safety Considerations in Handmade Soap Making
If you're comparing handmade soap's cold process vs melt and pour, safety is the part you don't get to wing. Cold process soap brings handling lye, heat, and timing, while melt and pour soap is calmer but still hot and messy. Either way, keep your setup simple, your measurements tight, and your habits consistent.
Lye Safety and Protective Gear
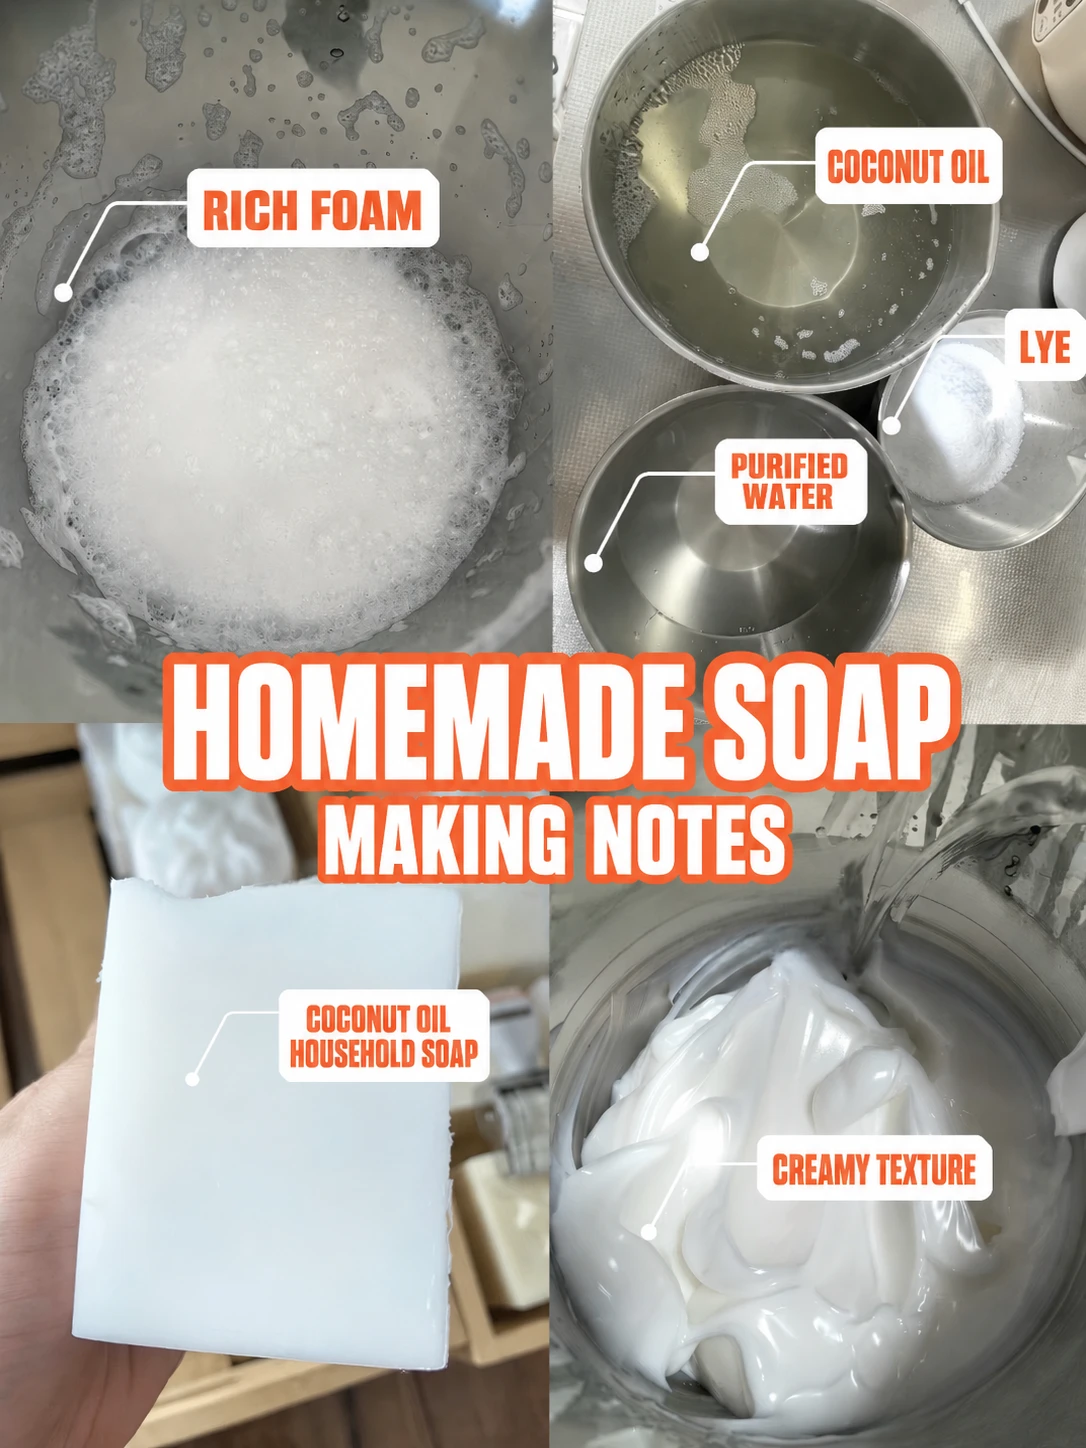
Core lye safety rules (handmade soap's cold process vs melt and pour leans hardest here):
- Wear goggles and gloves every single time; add long sleeves and closed-toe shoes so splashes don't find you.
- Mix by adding lye to water, never the flip -- this is non-negotiable handling lye.
Workspace Habits That Prevent Drama
- Label every container LYE and keep lids on when you pause.
- Clear the zone: no kids, no pets, no distractions.
If a Spill Happens
- Wipe up dry lye carefully; for wet batter, flood the area with lots of running water and keep rinsing.
Soap Craft Lab: Cold process soap asks for full protective gear; melt and pour soap still wants gloves when you're clumsy-prone.
Ventilation and Handling Hot Liquids
Open a window or use a fume hood style setup; good ventilation keeps lye fumes from smacking you in the face, especially in handmade soap's cold process vs melt and pour comparisons.
- Temperature control isn't fancy -- it's just waiting. Let the lye solution cool in a safe spot, away from edges.
- Use heat-safe pitchers for hot liquids, and pour low to cut splashing.
Safer Mixing Sequence
- Set container on a stable surface.
- Stir gently; don't whip air in.
- If you feel stinging or see mist, step back and let ventilation do its job.
Chemical reality check: chemical burns don't always hurt right away; rinse skin under running water for a long time, then reassess. For hot-process-like heat or melt and pour soap, treat steam and sticky blobs as burn-ready.
Scale Accuracy and Precise Measurements
In handmade soap's cold process vs melt and pour, cold process soap lives and dies on scale accuracy; melt and pour soap forgives more, but bad add-in ratios can still irritate skin. Use a digital scale and chase precise measurements, not close enough.
Measurement Safety Stack
- Weight measurement only (no cups), and re-check ingredient ratios before you mix.
- Tare often, pour slowly, and practice accurate dispensing like it's a habit, not a mood.
- Keep batch notes so you can repeat safe results and spot weird pH trends.
| Ingredient | Target Weight (g) | Allowed Error (g) | Safety Note |
|---|---|---|---|
| NaOH (lye) | 120 | +/- 1 | Too high risks lye-heavy bars |
| Water | 280 | +/- 5 | Too low can overheat trace |
| Oils total | 800 | +/- 5 | Impacts lather and mildness |
Handmade soap's cold process vs. melt-and-pour takeaway: when the numbers are tight, the bar behaves.
Key Points Before Making Soap
- →Cold process gives full ingredient control but requires 4-6 weeks cure and strict lye safety.
- →Melt and pour is beginner-friendly, sets in hours, and allows creative layering and embeds.
- →Cold process bars develop natural glycerin and robust lather; melt and pour delivers glossy consistency.
- →Safety is non-negotiable for both methods, but cold process demands full PPE and ventilation.
- →Choose based on your priorities: control and craft (cold process) or speed and ease (melt and pour).